Think your Samsung takes great photos on auto? Wait until you unlock these 10 hidden settings — your shots will never look the same. The truth is, your Samsung camera is far more powerful than most people realize, but all that potential is hidden behind menus, toggles, and icons that many never explore. Whether you’re just starting out or want to take your mobile photography to the next level, mastering these essential settings will give you more control, creativity, and confidence behind the lens.
1. Switch to Pro Mode
Auto mode is great for quick snapshots, but Pro Mode is where the magic happens. It gives you manual control over settings like shutter speed, ISO, and focus, allowing you to adapt to every situation instead of letting the phone guess.
-
How to Enable: Open your camera app → swipe through shooting modes until you see Pro or Pro Video.
-
Why It Matters: You can brighten or darken an image without filters, create motion blur for artistic effects, or freeze a fast-moving subject with perfect clarity.
-
Pro Tip: Start with one manual adjustment at a time — for example, try lowering your ISO for cleaner images in good light.
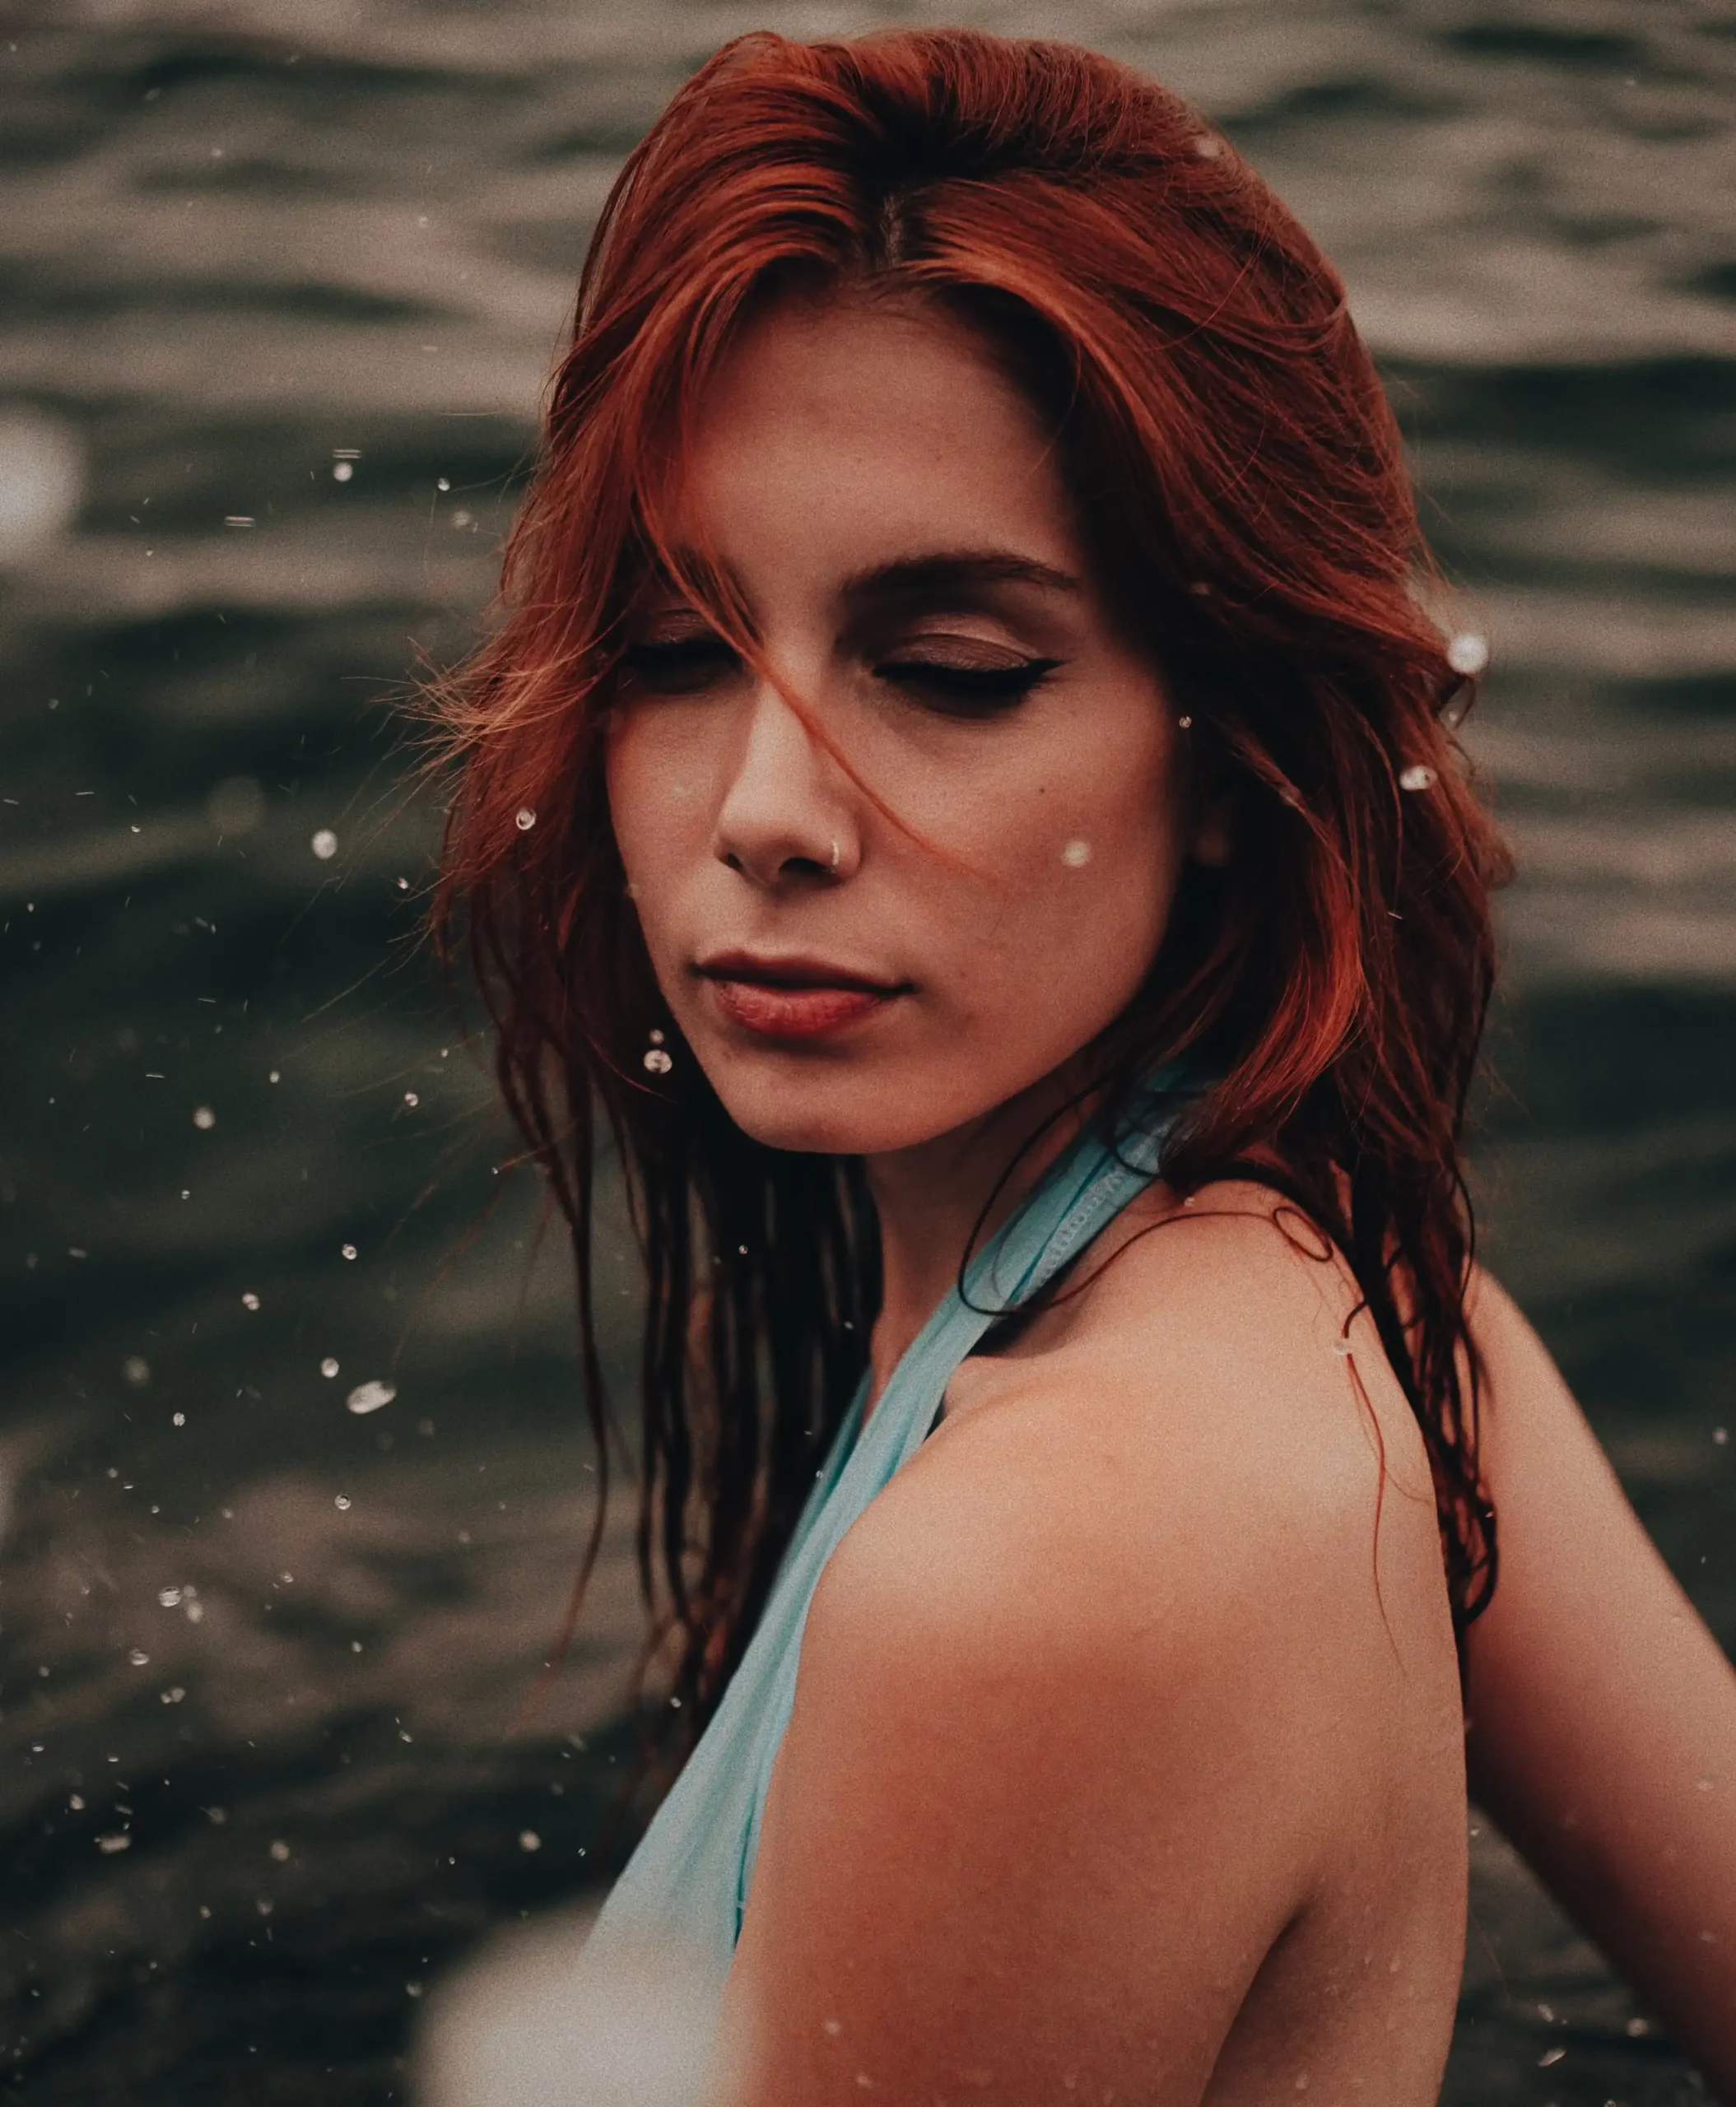
2. Adjust White Balance for Accuracy
White balance ensures that colors in your photo look natural. Auto white balance (AWB) does a decent job, but in tricky lighting (like warm indoor lamps or cool shade), it can be way off.
-
How to Adjust: In Pro Mode, tap the “WB” setting and slide to adjust warmth or coolness.
-
Example: Shooting food? A slightly warmer WB makes it look more appetizing. Shooting snowy mountains? A cooler WB keeps whites crisp.
-
Pro Tip: Use a neutral object (like a white napkin or grey card) to set your WB manually for spot-on color.
3. Master Focus Modes
Your Samsung offers different focus modes — and choosing the right one can make the difference between a tack-sharp subject and a blurry mess.
-
Options:
-
AF (Auto Focus): Perfect for most everyday shots.
-
MF (Manual Focus): For absolute precision, like macro shots.
-
Tracking AF: Keeps moving subjects sharp.
-
-
Pro Tip: In manual focus, zoom in digitally on your subject while adjusting focus to see tiny details clearly. Then zoom back out before shooting.
4. Fine-Tune Your ISO
ISO controls your camera’s sensitivity to light. The higher the ISO, the brighter your image — but also the grainier it becomes.
-
Rule of Thumb:
-
Bright daylight: ISO 50–100
-
Indoors: ISO 400–800
-
Night photography: ISO 800+ (but use a tripod to reduce grain)
-
-
Pro Tip: Always aim for the lowest ISO possible for cleaner images. Increase it only when necessary.
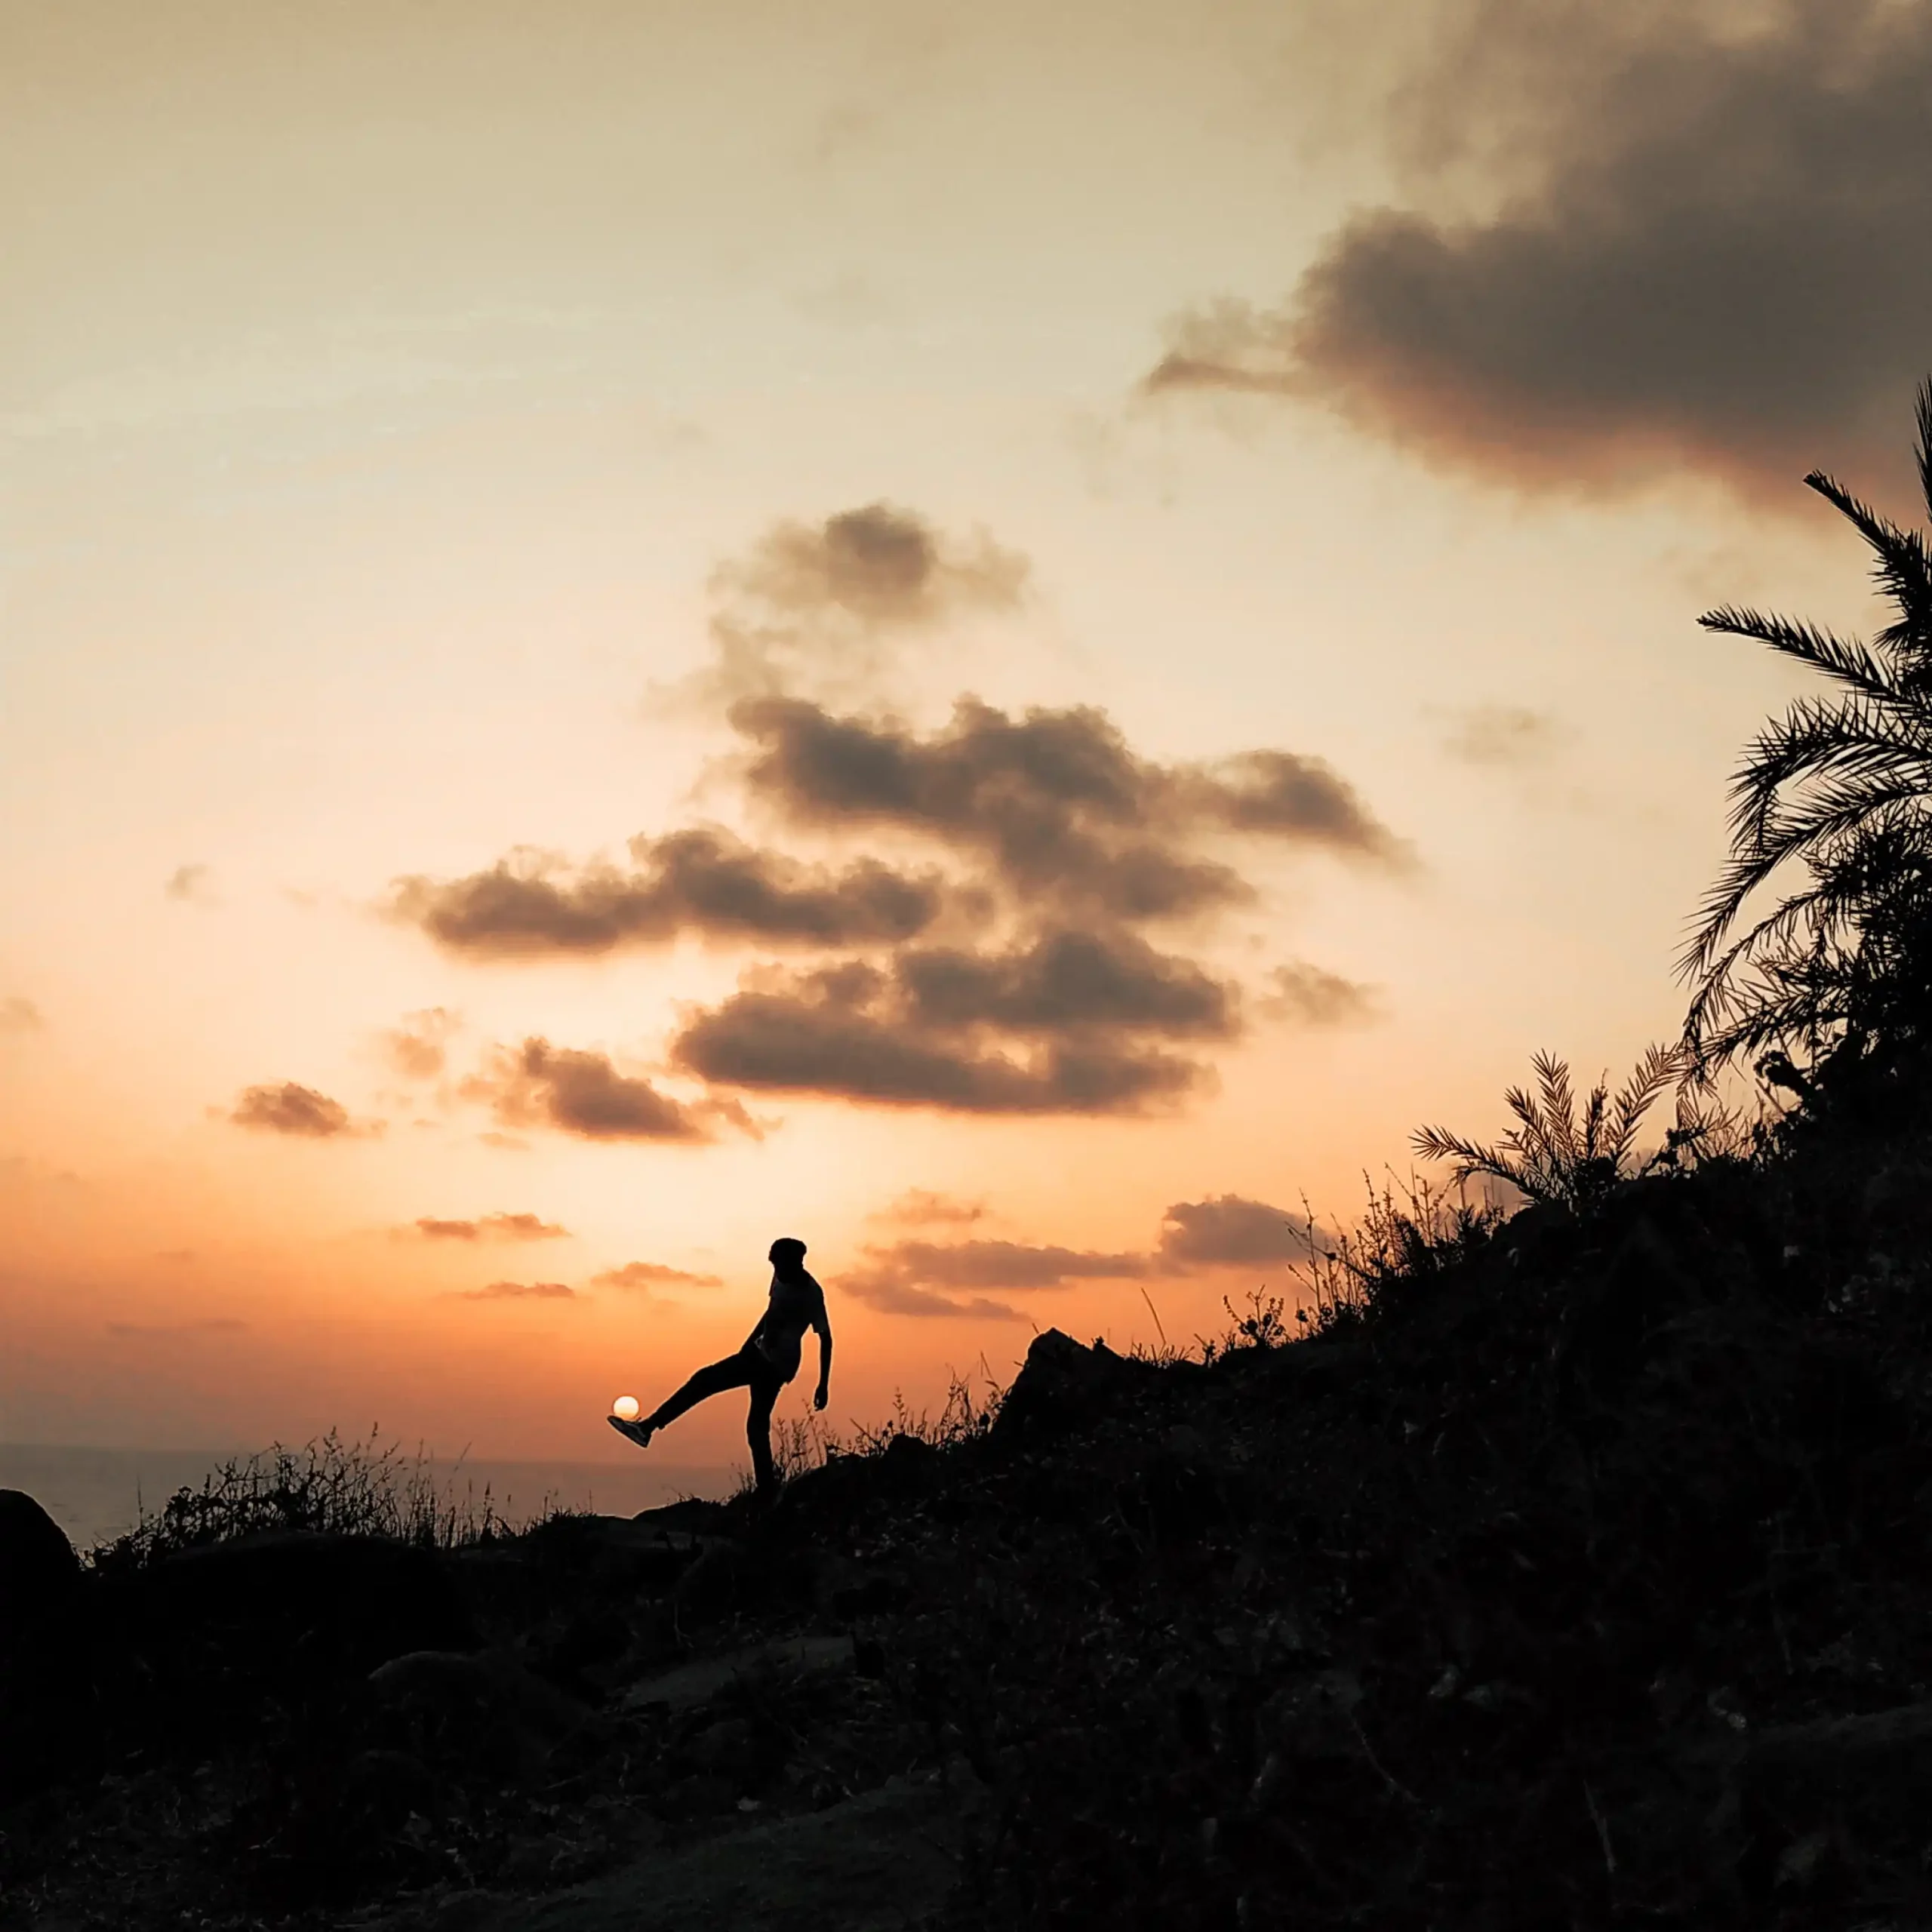
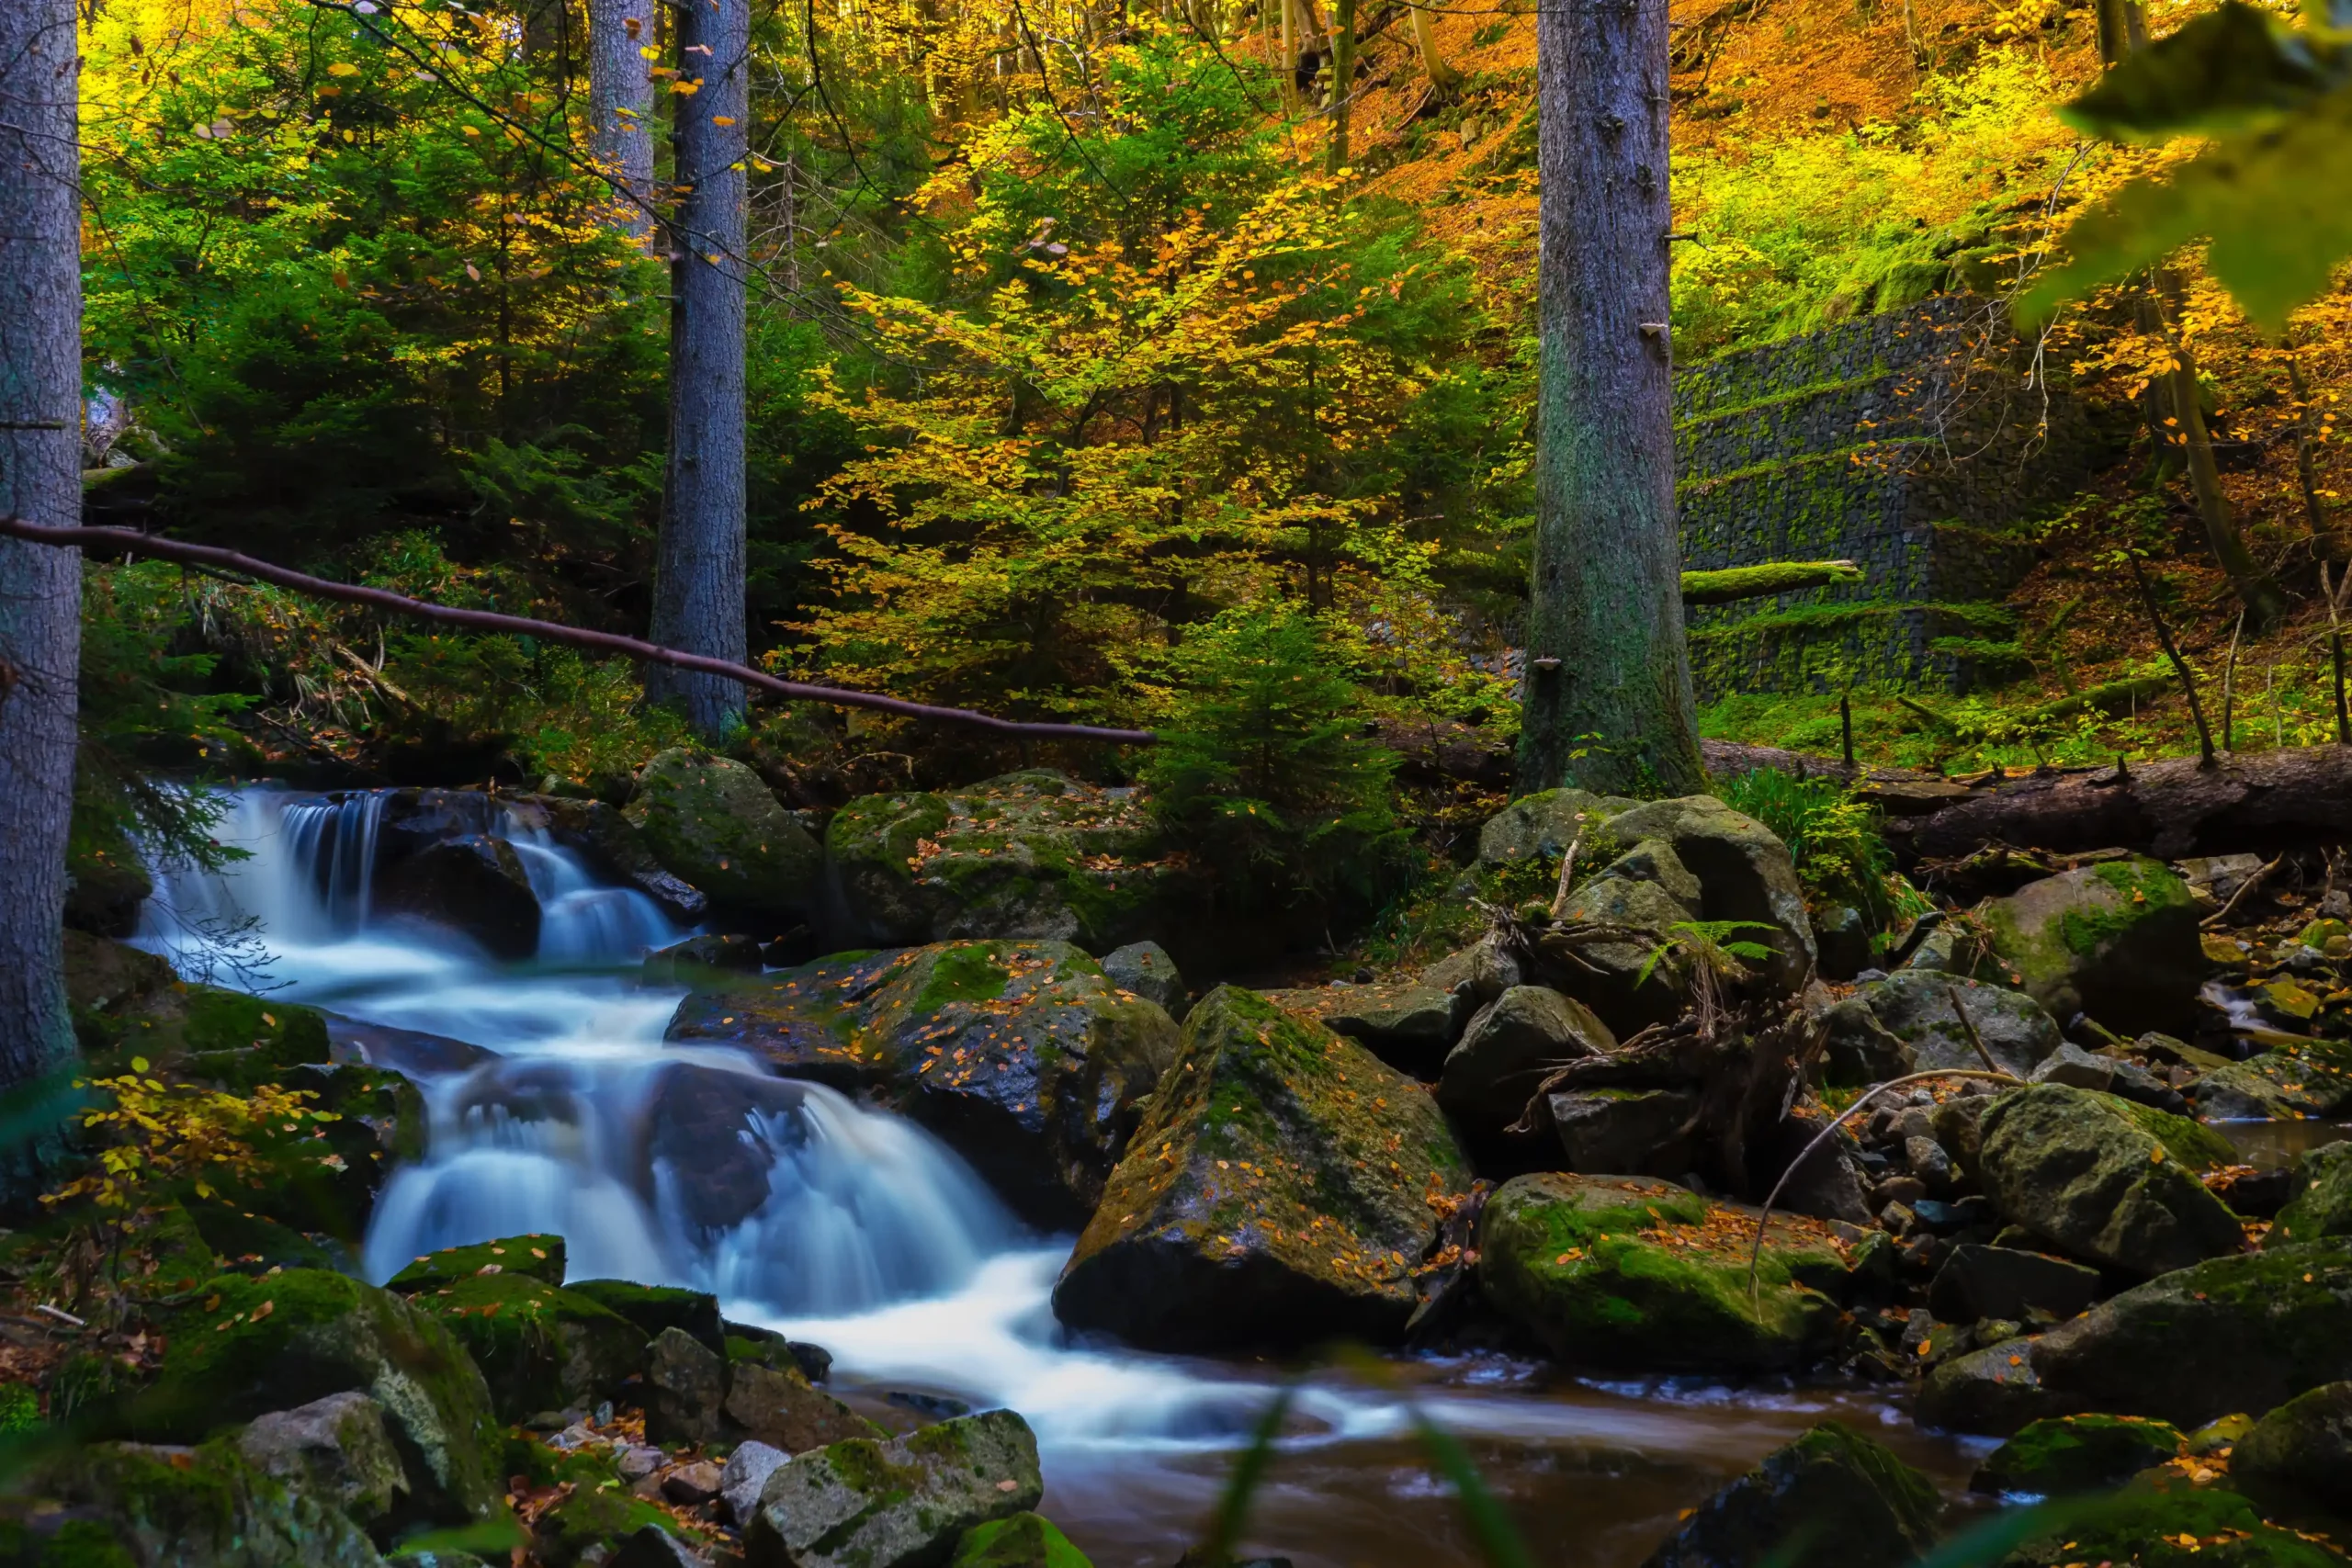
5. Shoot in HDR Mode for Balanced Exposure
HDR (High Dynamic Range) is like giving your camera superpowers when dealing with scenes that have both bright and dark areas. It blends multiple exposures into one photo so details are preserved across the image.
-
Best For:
-
Landscapes with bright skies and dark foregrounds
-
Backlit portraits
-
-
Pro Tip: Keep your camera steady while HDR is processing to avoid ghosting or blur.
6. Enable Grid Lines for Better Composition
The “Rule of Thirds” is one of photography’s golden rules — and grid lines help you follow it.
-
How to Enable: Settings → Grid Lines → Toggle On.
-
Why It Works: Placing key subjects on grid intersections naturally draws the viewer’s eye and creates balance.
-
Pro Tip: Use grid lines not just for composition but also to keep horizons level.
7. Capture in RAW for Maximum Editing Power
RAW files store all the image data your sensor captures, giving you far more flexibility in editing than JPEGs.
-
Best For: Landscape, low-light, or high-contrast scenes you plan to edit later.
-
Pro Tip: RAW files are larger, so use them selectively to save storage space.
8. Use Scene Optimizer Wisely
Scene Optimizer detects what you’re photographing (like sunsets, food, or text) and automatically adjusts settings.
-
Pro Tip: Great for beginners, but in Pro Mode, you might want to disable it to avoid over-processing.
9. Experiment with Aspect Ratios
Changing your aspect ratio alters the framing and mood of your photo.
-
Common Ratios:
-
4:3: Standard, best quality.
-
16:9: Wide shots, cinematic feel.
-
1:1: Square format, perfect for Instagram.
-
10. Lock Exposure for Consistency
When your exposure shifts mid-shot, it can ruin the look of your image. Locking exposure ensures consistent brightness.
-
How to Lock: Tap and hold on your subject until you see “AE/AF Lock” on screen.
Conclusion:
By mastering these 10 settings, you’ll go from letting your Samsung make all the decisions to being the creative director of every shot. Start with one setting at a time, practice in different scenarios, and soon you’ll be shooting like a pro without even thinking about it.