Introduction
Color is the first thing people notice in a photo. It shapes emotion, mood, and the way we experience a moment. Whether it’s the warm glow of sunset on a quiet street or the cool shimmer of city lights at night, color has the power to turn an ordinary scene into something unforgettable. And on Samsung Galaxy devices, color science is not just an afterthought—it’s a carefully engineered process designed to give you vibrant, expressive, and beautifully balanced images straight out of the camera.
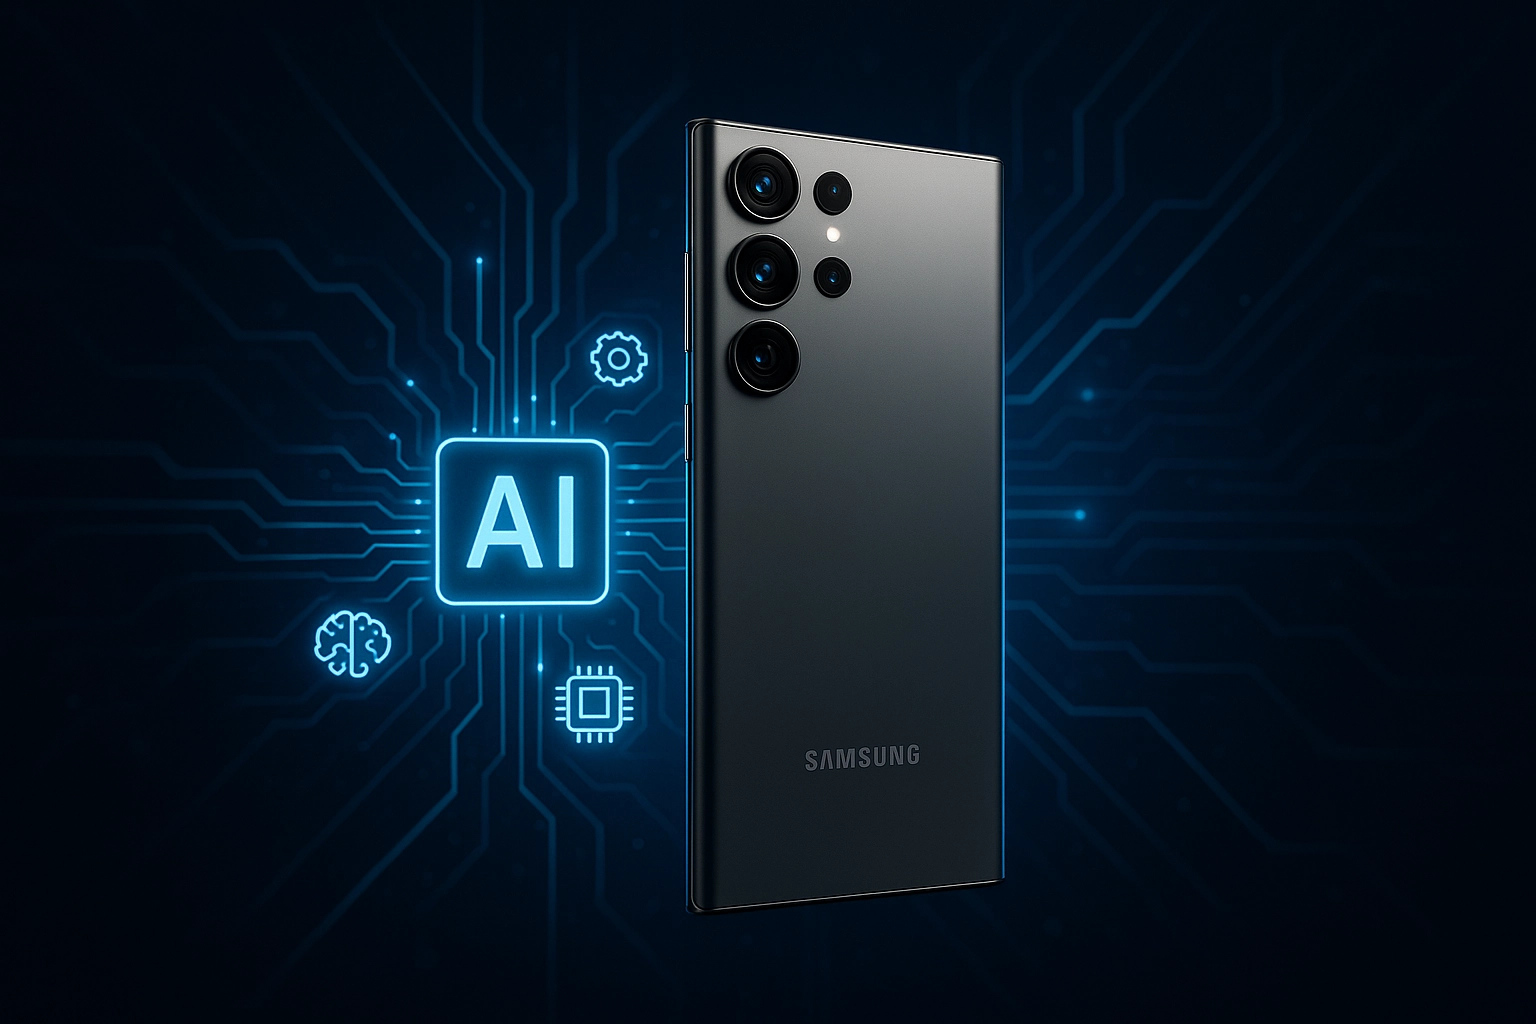
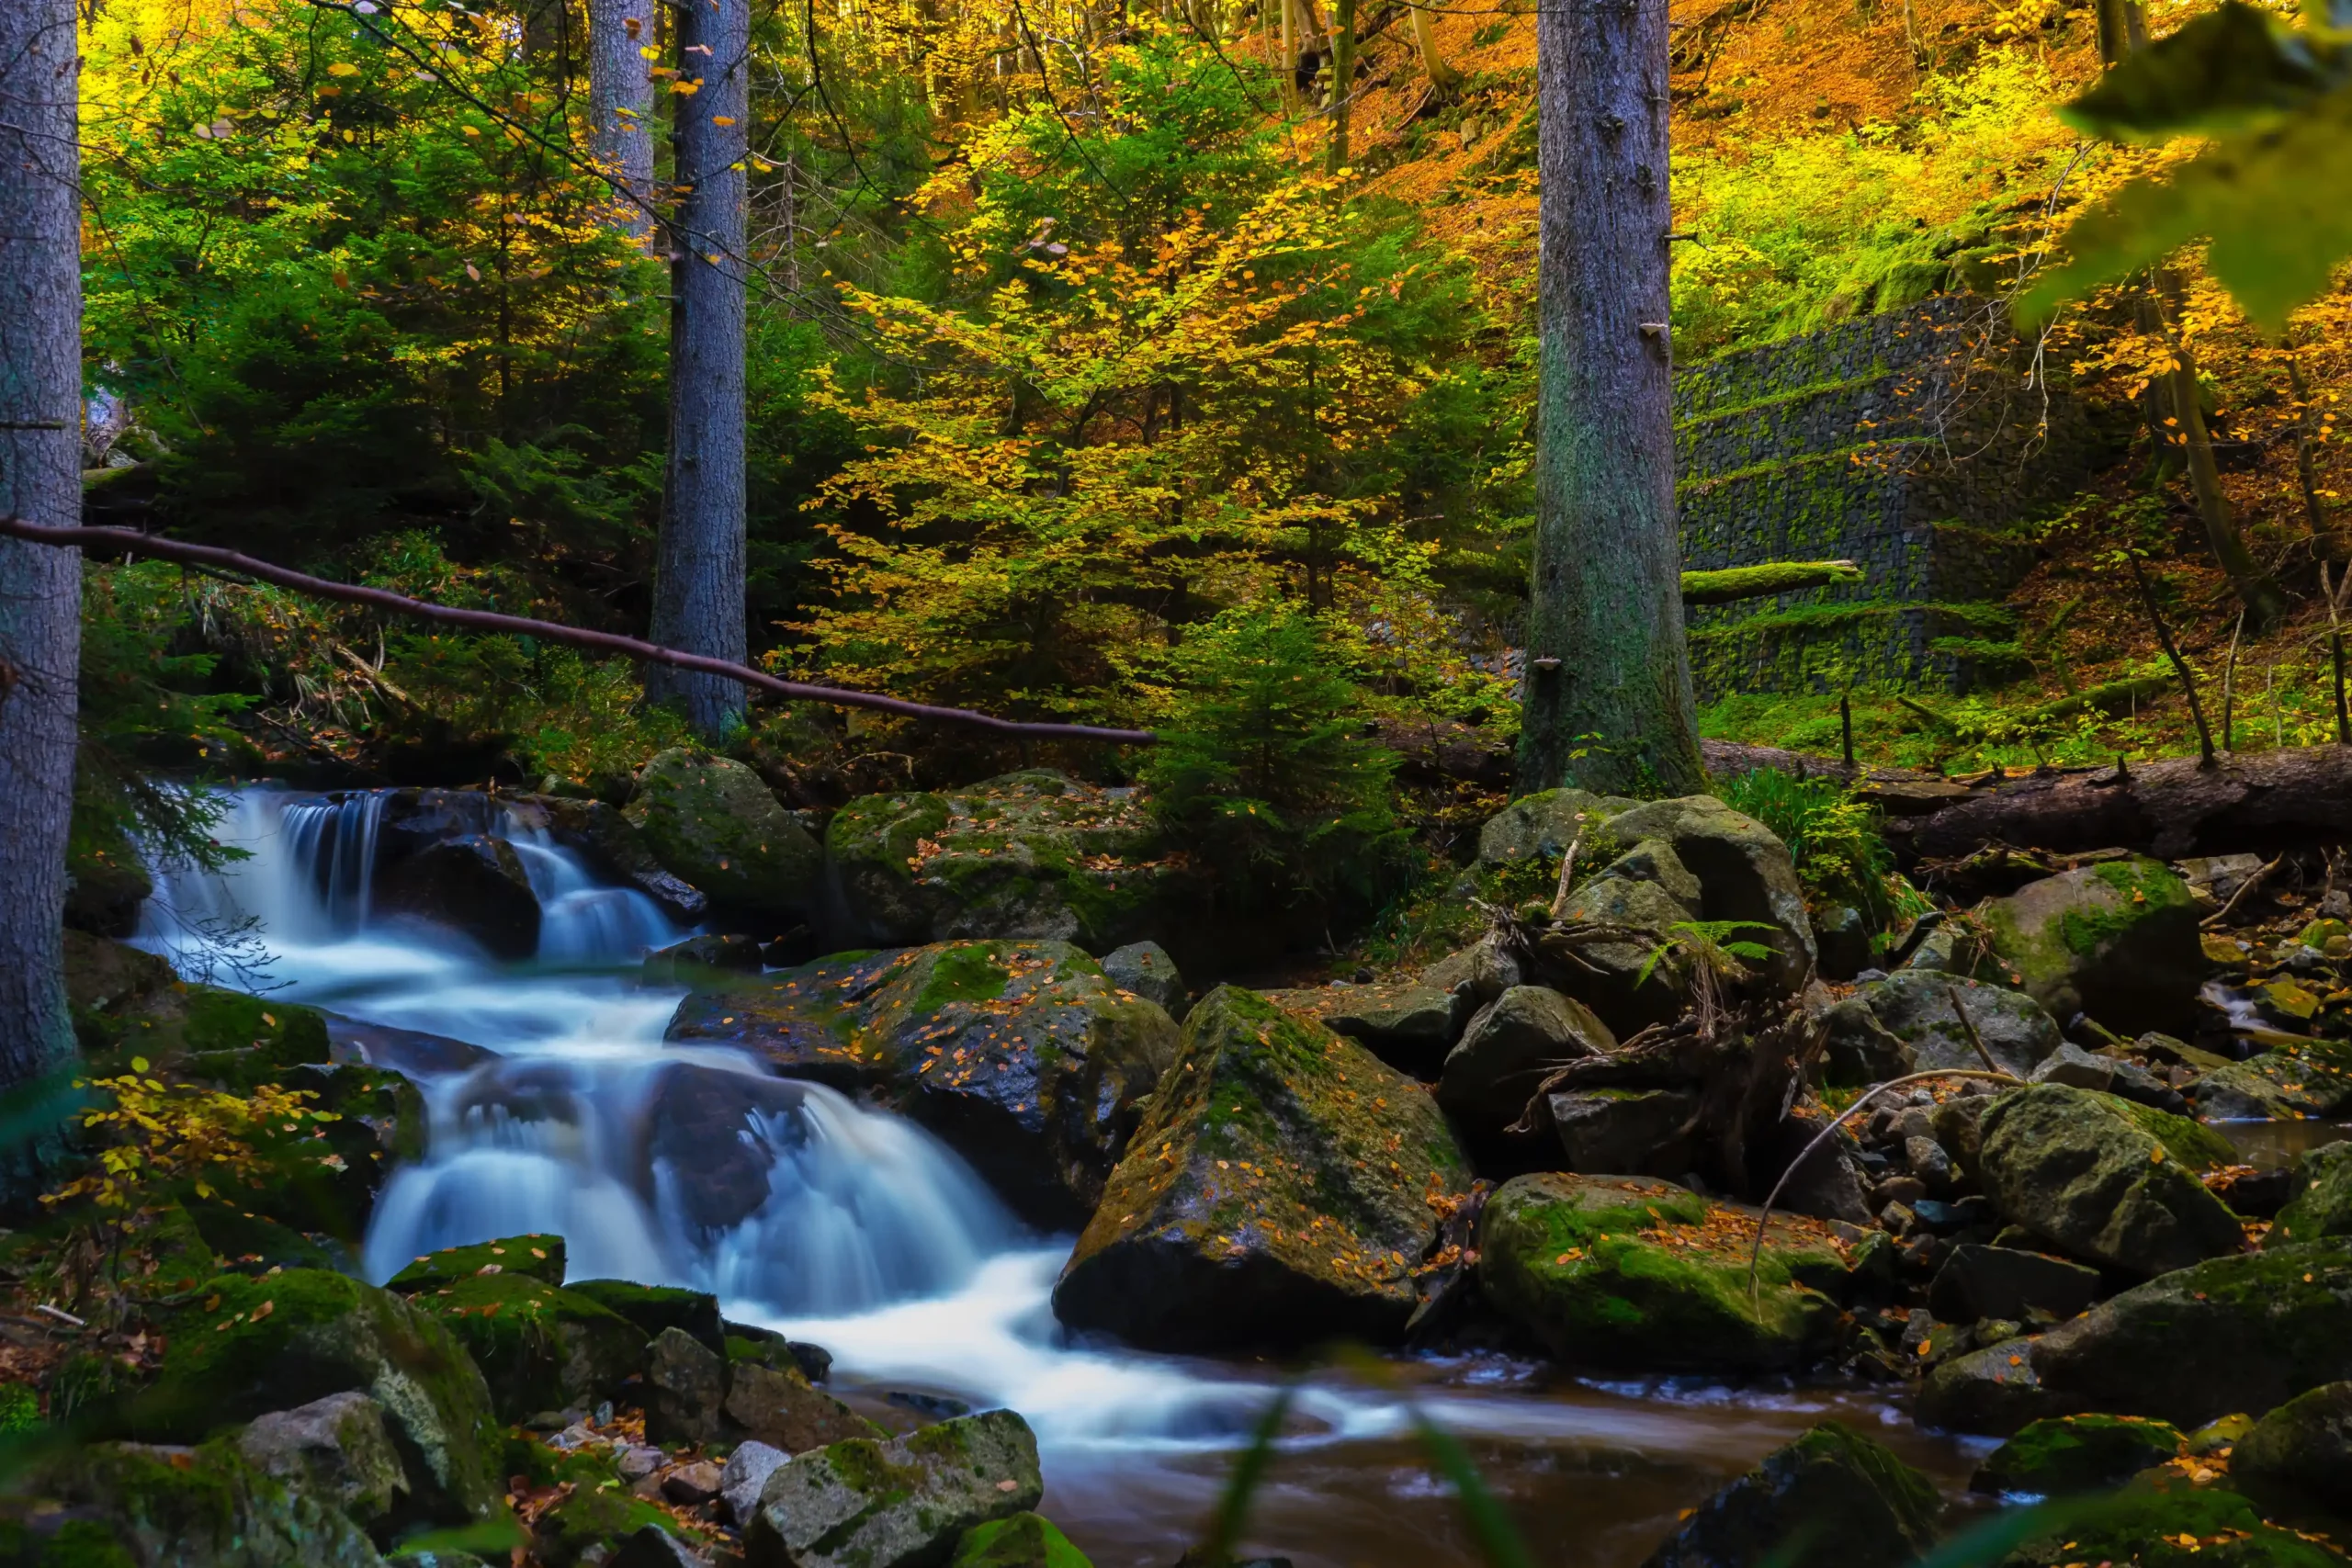
Modern Samsung phones combine advanced sensors, computational photography, and intelligent AI processing to interpret color the way your eyes naturally see it. Instead of simply boosting saturation or applying one uniform filter, the camera analyzes the light, subject, environment, and textures in real time. It adjusts hue, tone, contrast, and dynamic range to create images that feel realistic yet visually striking. This is why Samsung photos often appear crisp, vivid, and full of depth even in challenging conditions.
But understanding color science isn’t just for professionals. When you know how your Samsung phone interprets color—and how to guide it—you gain far more control over the look and mood of your photos. You can choose natural and true-to-life tones or push your images toward a cinematic aesthetic that feels rich and intentional. With just a few adjustments, every creator can craft a signature style that stands out.
In this guide, we’ll break down how Samsung processes color, how you can achieve both natural and cinematic looks, and which tools give you the most creative freedom. Whether you want realism or artistry, your Samsung Galaxy device has everything you need to shape color with confidence.
How Samsung Galaxy Color Science Works
Samsung’s color science is a sophisticated blend of hardware engineering and intelligent software design. Every time you take a photo, your Galaxy device goes through a multi-step process that shapes how colors will appear—long before you even open an editing app. Understanding this process gives you the ability to predict how your phone will interpret a scene and how to fine-tune the results for the exact look you want.
At the heart of Samsung’s color system is the image sensor, which captures raw light information. Modern Galaxy sensors are designed to pick up a wide dynamic range—meaning they can retain details in both shadows and bright highlights. This foundation is crucial because accurate color always begins with accurate light capture. A strong sensor gives the camera more flexibility when adjusting tones later in the pipeline.
Once the sensor gathers the data, Samsung’s ISP (Image Signal Processor) steps in. This is where color science becomes truly intelligent. The ISP analyzes the scene in real time—identifying skin tones, skies, greenery, water, buildings, and even materials like wood or metal. Each of these elements is processed differently to reflect how we naturally perceive them.
For example:
-
Skies are enhanced with deeper blues and smoother gradients
-
Foliage is brightened for a more vibrant, lively look
-
Skin tones are protected to avoid unnatural saturation
This scene-based approach helps your photos feel balanced and visually pleasing straight out of the camera.
The next stage is AI optimization. Samsung’s Galaxy AI analyzes the emotional “meaning” of the scene—deciding whether it’s a portrait, landscape, food shot, or night photo. Instead of applying one universal filter, the phone adjusts dozens of micro-parameters: hue, luminance, contrast curves, local color pockets, and texture. This is why Samsung images tend to have clear faces, rich skies, and punchy colors that stand out without crossing into artificial territory.
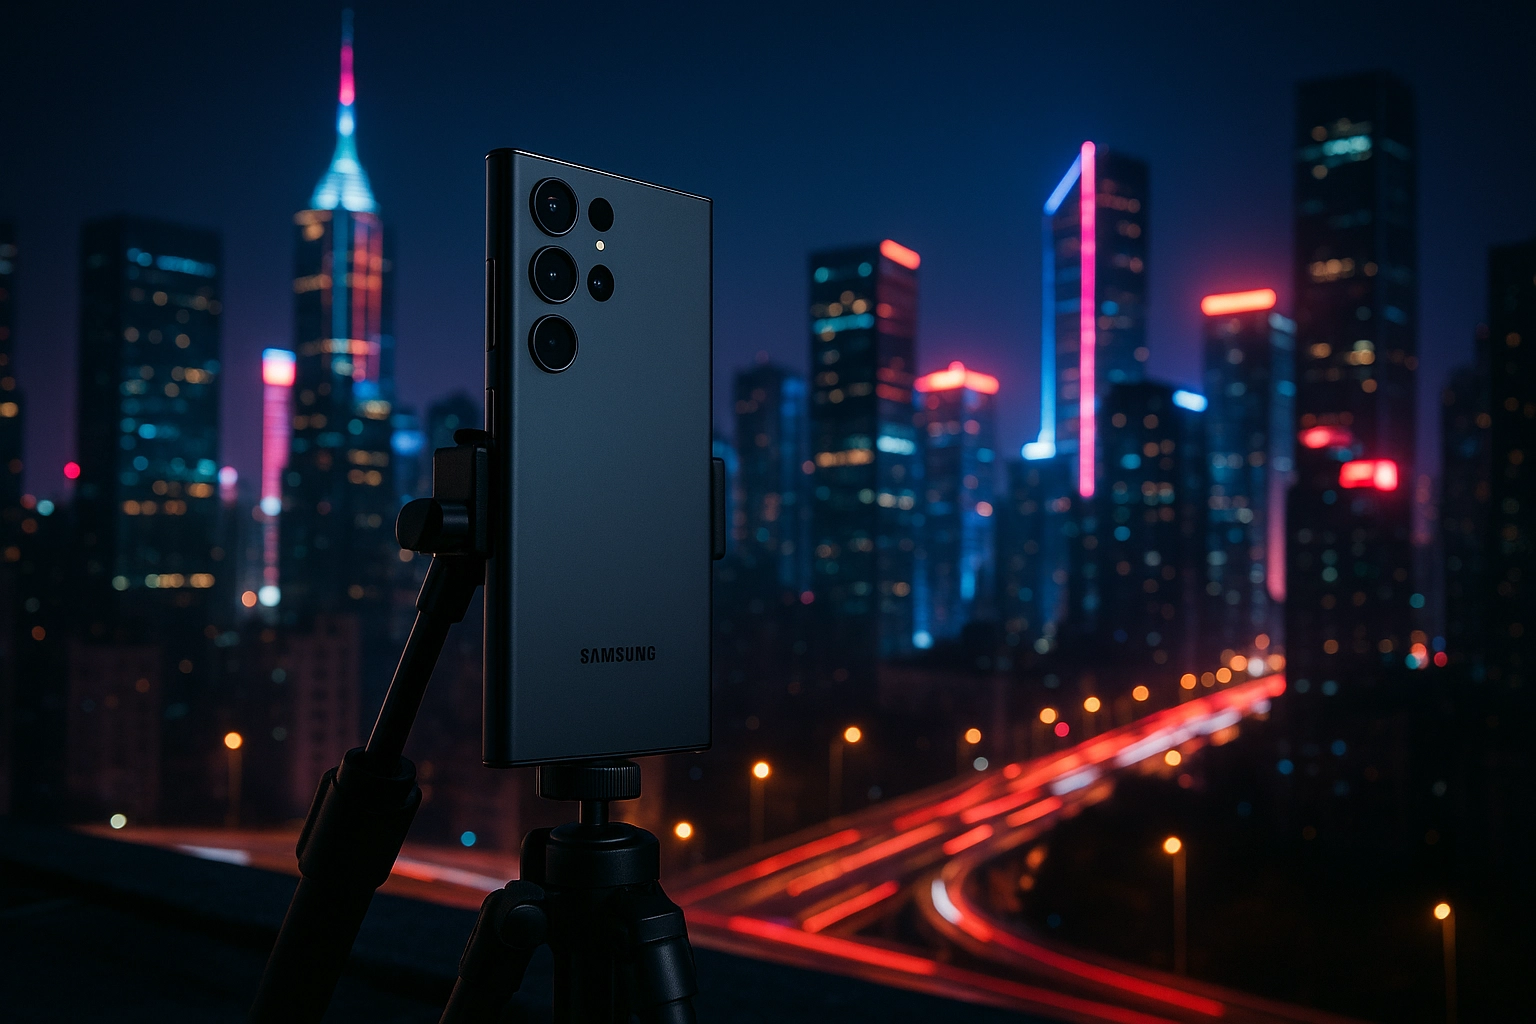
Finally, tone mapping and HDR optimization refine the photo by balancing the highlights and shadows. This ensures that even in extreme lighting—like shooting directly into the sun—you still get vivid color, protected details, and a natural sense of depth.
Together, these layers form the backbone of Samsung’s color science: a system that blends accuracy with visual impact. And when you understand how these layers work, you can begin shaping the final look of your photos more intentionally—whether you’re aiming for realism, drama, or a cinematic mood.
Achieving Natural-Looking Photos
Natural-looking photos capture the world as you see it—clean, balanced, and true to life. While Samsung’s color science already does an excellent job of producing vibrant, realistic images, a few thoughtful adjustments can help you achieve even more authentic results. The goal isn’t to strip away the character of the scene, but to refine the colors so they feel honest, subtle, and visually pleasing.
One of the most important steps is managing white balance. Light sources dramatically influence the color of your photos—sunset light introduces warmth, shade adds cool blue tones, and indoor bulbs can create orange tints. By tapping on your subject or adjusting the temperature slider in the Samsung camera app, you can instantly bring your colors closer to how the scene truly looked. When white balance is correct, skin tones appear natural, whites look neutral, and the overall image feels grounded.
Next, pay attention to contrast and saturation. Samsung devices tend to boost these slightly to create lively, eye-catching photos. While this works beautifully for many scenes, there are moments when you may want softer, more authentic tones. Reducing saturation by just a few points—or lowering contrast slightly—can help restore a gentler palette. This is especially effective for portraits, landscapes with soft light, and scenes where subtlety is part of the emotion.
Another powerful tool is exposure control. Natural-looking colors rely on balanced lighting. If an image is too bright, colors can look washed out; if it’s too dark, tones become muddy. Before capturing the shot, a slight adjustment of the exposure slider ensures a clean foundation. Even a small correction goes a long way in preserving natural color fidelity.
For even greater accuracy, consider shooting with Expert RAW. RAW files preserve the most color information, giving you full control during editing. They allow you to correct highlights, shadows, and tones without losing quality. This is ideal when you want to maintain true colors in complex lighting—such as during golden hour, in high-contrast scenes, or when photographing landscapes.
Finally, let the light guide you. Natural light brings out the most honest colors. Shooting during early morning or late afternoon provides soft, flattering tones that require minimal correction. Midday sun can be harsh, but even then, seeking open shade or indirect light will help your images retain gentle, natural hues.
By combining Samsung’s intelligent color processing with these simple adjustments, you can create photos that feel calm, authentic, and beautifully true to the moment. Natural color isn’t boring—it’s timeless. And with the right approach, your Galaxy device makes achieving it effortless.

Creating Cinematic Looks on Samsung
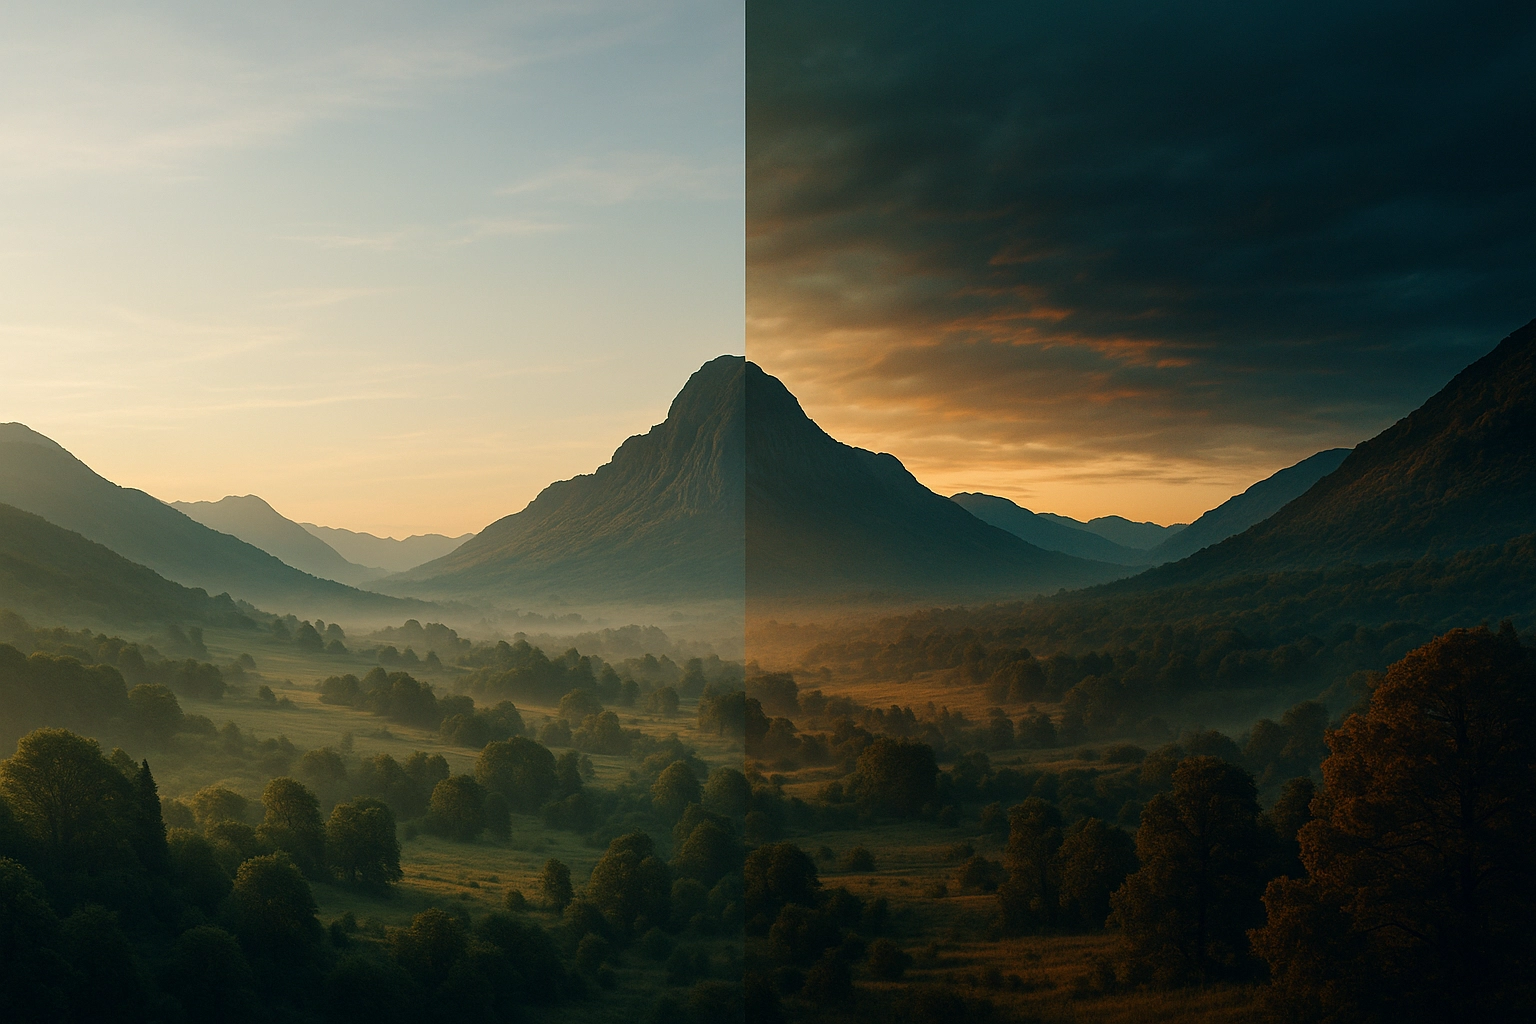
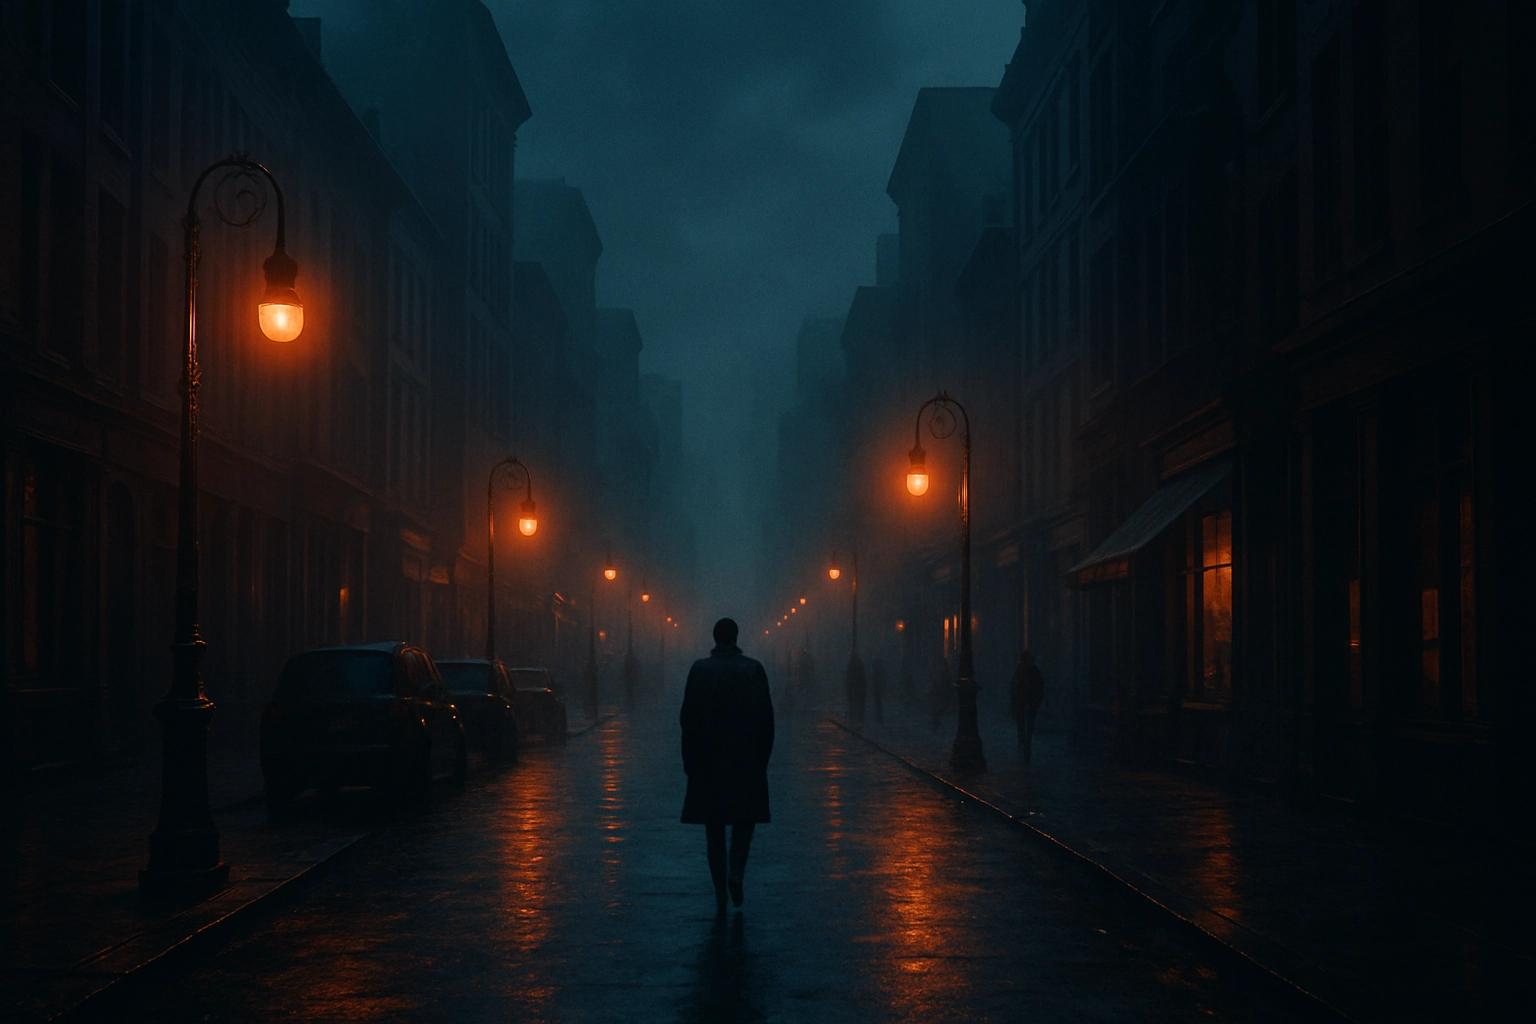
Cinematic color is all about mood. It transforms a simple photo into a visual story—one that feels intentional, dramatic, and emotionally charged. While natural color aims to represent the world honestly, cinematic color invites you to reinterpret it. On a Samsung Galaxy device, achieving this look is surprisingly accessible. With the right combination of light, composition, and tonal adjustments, you can create images that feel like frames from a film.
Cinematic color begins with controlled contrast and rich shadows. Instead of bright, evenly lit scenes, film-inspired photos often embrace depth and dimension. Darker blacks, softer highlights, and gentle roll-offs create a sense of atmosphere. Lowering brightness slightly, deepening shadows, or adding a subtle fade can instantly give your photo a more cinematic aesthetic. This creates the foundation upon which color truly shines.
Next comes color harmony—the relationship between warm and cool tones. Many cinematic looks rely on a classic balance: warm highlights paired with cool shadows, often referred to as the “teal and orange” concept. This doesn’t mean heavy, exaggerated colors. Instead, it’s a soft interplay. Warm skin tones stand out against cooler backgrounds, or a sunset glow contrasts beautifully with deep blue shadows. In your editing app, adjusting temperature, tint, and selective color tools allows you to sculpt this balance with precision.
Another essential element is muted saturation. Unlike overly vibrant images, cinematic photos tend to have refined, controlled colors. Reds become softer, greens more subdued, and yellows gentler. This minimalist palette draws attention to the emotion and composition rather than the brightness of the colors themselves. You can achieve this by slightly lowering saturation or using HSL tools to reduce intensity in specific color channels.
Lighting also plays a crucial role. Cinematic looks thrive in golden hour, soft window light, moody environments, and scenes with directional lighting. These conditions naturally produce gradients and shadows that editing alone cannot replicate. When shooting, look for interesting pockets of light—rays through a doorway, reflections on a wet street, or the warm glow of late afternoon sun.
To refine your cinematic style further, experiment with LUTs and color grading tools. Apps like Lightroom, LumaFusion, and CapCut allow you to apply filmic color profiles that emulate the tones of classic cinema. These subtle adjustments—faded blacks, warm highlights, cool shadows, balanced skin tones—pull everything together.
Ultimately, cinematic color is about telling a story. It takes the real world and gives it emotional weight. With your Samsung Galaxy device and a thoughtful approach to light, tone, and color, you can craft images that look like they belong on the big screen—rich, atmospheric, and visually unforgettable.
Pro Mode & Expert RAW for Color Control
If you want full control over color on your Samsung Galaxy, nothing comes close to Pro Mode and Expert RAW. These tools unlock the true potential of your camera’s sensor, giving you the freedom to shape light, tone, and color at a professional level. Instead of relying solely on the camera’s automated processing, you gain direct influence over how your photos capture the world—and how much creative flexibility you’ll have later during editing.
Pro Mode gives you manual control over essential settings like ISO, shutter speed, focus, and white balance. These aren’t just technical options—they’re the foundation of color accuracy and artistic freedom. For example, adjusting white balance manually helps you remove color casts caused by artificial lighting or strong reflections, ensuring your tones look clean and natural. Lowering ISO preserves fine detail and prevents noise from tinting your shadows. Choosing a slightly longer shutter speed can deepen colors during sunset or create cinematic motion blur that adds emotion to a scene.
Where Pro Mode gives you control at the moment of capture, Expert RAW gives you control afterward. RAW files preserve far more color information than standard JPEGs or HEIFs. Highlights retain detail instead of blowing out, shadows hold subtle tonal transitions, and mid-tones stay rich and flexible. This extra data allows you to adjust colors during editing without degrading the quality of your image. You can recover skies, soften harsh highlights, refine skin tones, and adjust color balance with the finesse of a professional camera workflow.
Expert RAW is especially powerful for challenging lighting conditions. Shooting into the sun, capturing dramatic sunsets, or working with strong indoor lighting—all become easier when you have the freedom to fine-tune every tonal shift later. The app also integrates with Lightroom Mobile, allowing seamless editing with sliders designed specifically for RAW photography.
Another advantage is dynamic range control. With more room to push and pull brightness and color, you can achieve smoother gradients, cleaner shadows, and richer highlights. This is particularly important when creating cinematic tones, where deep blacks and luminous highlights must coexist gracefully.
Using Pro Mode and Expert RAW transforms your Samsung Galaxy from a smart camera into a creative instrument. Instead of letting the camera decide how colors should look, you take the lead—capturing images with intention, flexibility, and artistic control. When used thoughtfully, these tools allow you to create photos that feel not only beautiful, but unmistakably yours.
Editing Tips for Consistent Color Across Your Feed
Consistency is one of the most powerful elements of visual storytelling. When your photos and videos share a cohesive color style, your feed looks intentional, polished, and unmistakably yours. Whether you’re posting on Instagram, building a portfolio, or creating content for clients, maintaining consistent color helps your audience immediately recognize your work. With the tools available on your Samsung Galaxy device, achieving this kind of cohesion becomes both simple and enjoyable.
A great starting point is choosing a core color palette. Think of it as your visual identity: warm and earthy, cool and atmospheric, bright and vibrant, or soft and minimal. Once you find a palette that resonates with you, use it as a guide in your editing apps. Adjust your highlights, shadows, and mid-tones in ways that reflect your chosen style. Over time, your feed will naturally develop a unified look.
Another essential technique is using presets or LUTs. Whether you create your own or download existing ones, presets help maintain color consistency across multiple photos or clips. In Lightroom Mobile, you can save your favorite adjustments as a custom preset and apply it to new images with one tap. For video, LumaFusion and CapCut allow you to import LUTs that instantly unify the color tone of your footage. These tools ensure that no matter when or where you capture content, the final result always feels aligned with your style.
Next, pay attention to white balance. Even small differences can create noticeable inconsistencies across your feed. A photo taken in warm indoor lighting may clash with a cool outdoor shot unless the temperature is adjusted. Before editing anything else, correct the white balance so all your images start from a neutral, consistent foundation. Once the base is aligned, your colors will fall into place naturally.
Maintaining consistency also means understanding context. Not every photo needs to look identical, but they should feel related. A travel shot, a portrait, and a product photo can all have different moods while still sharing similar color tendencies—perhaps soft shadows, warm highlights, or subtle tones that repeat throughout your work.
Finally, make use of calibrated editing apps that display color accurately. Trustworthy tools allow you to fine-tune hues and luminance with precision. Apps like Lightroom Mobile, VN, LumaFusion, and Snapseed give you detailed control over color channels, allowing you to create consistent looks even when images were shot under very different lighting conditions.
Consistency doesn’t limit creativity; it amplifies it. By developing a clear color identity and applying it thoughtfully, your Samsung Galaxy content becomes instantly recognizable—polished, elegant, and uniquely yours. With practice, your feed transforms from a collection of photos into a visual story with a signature style.