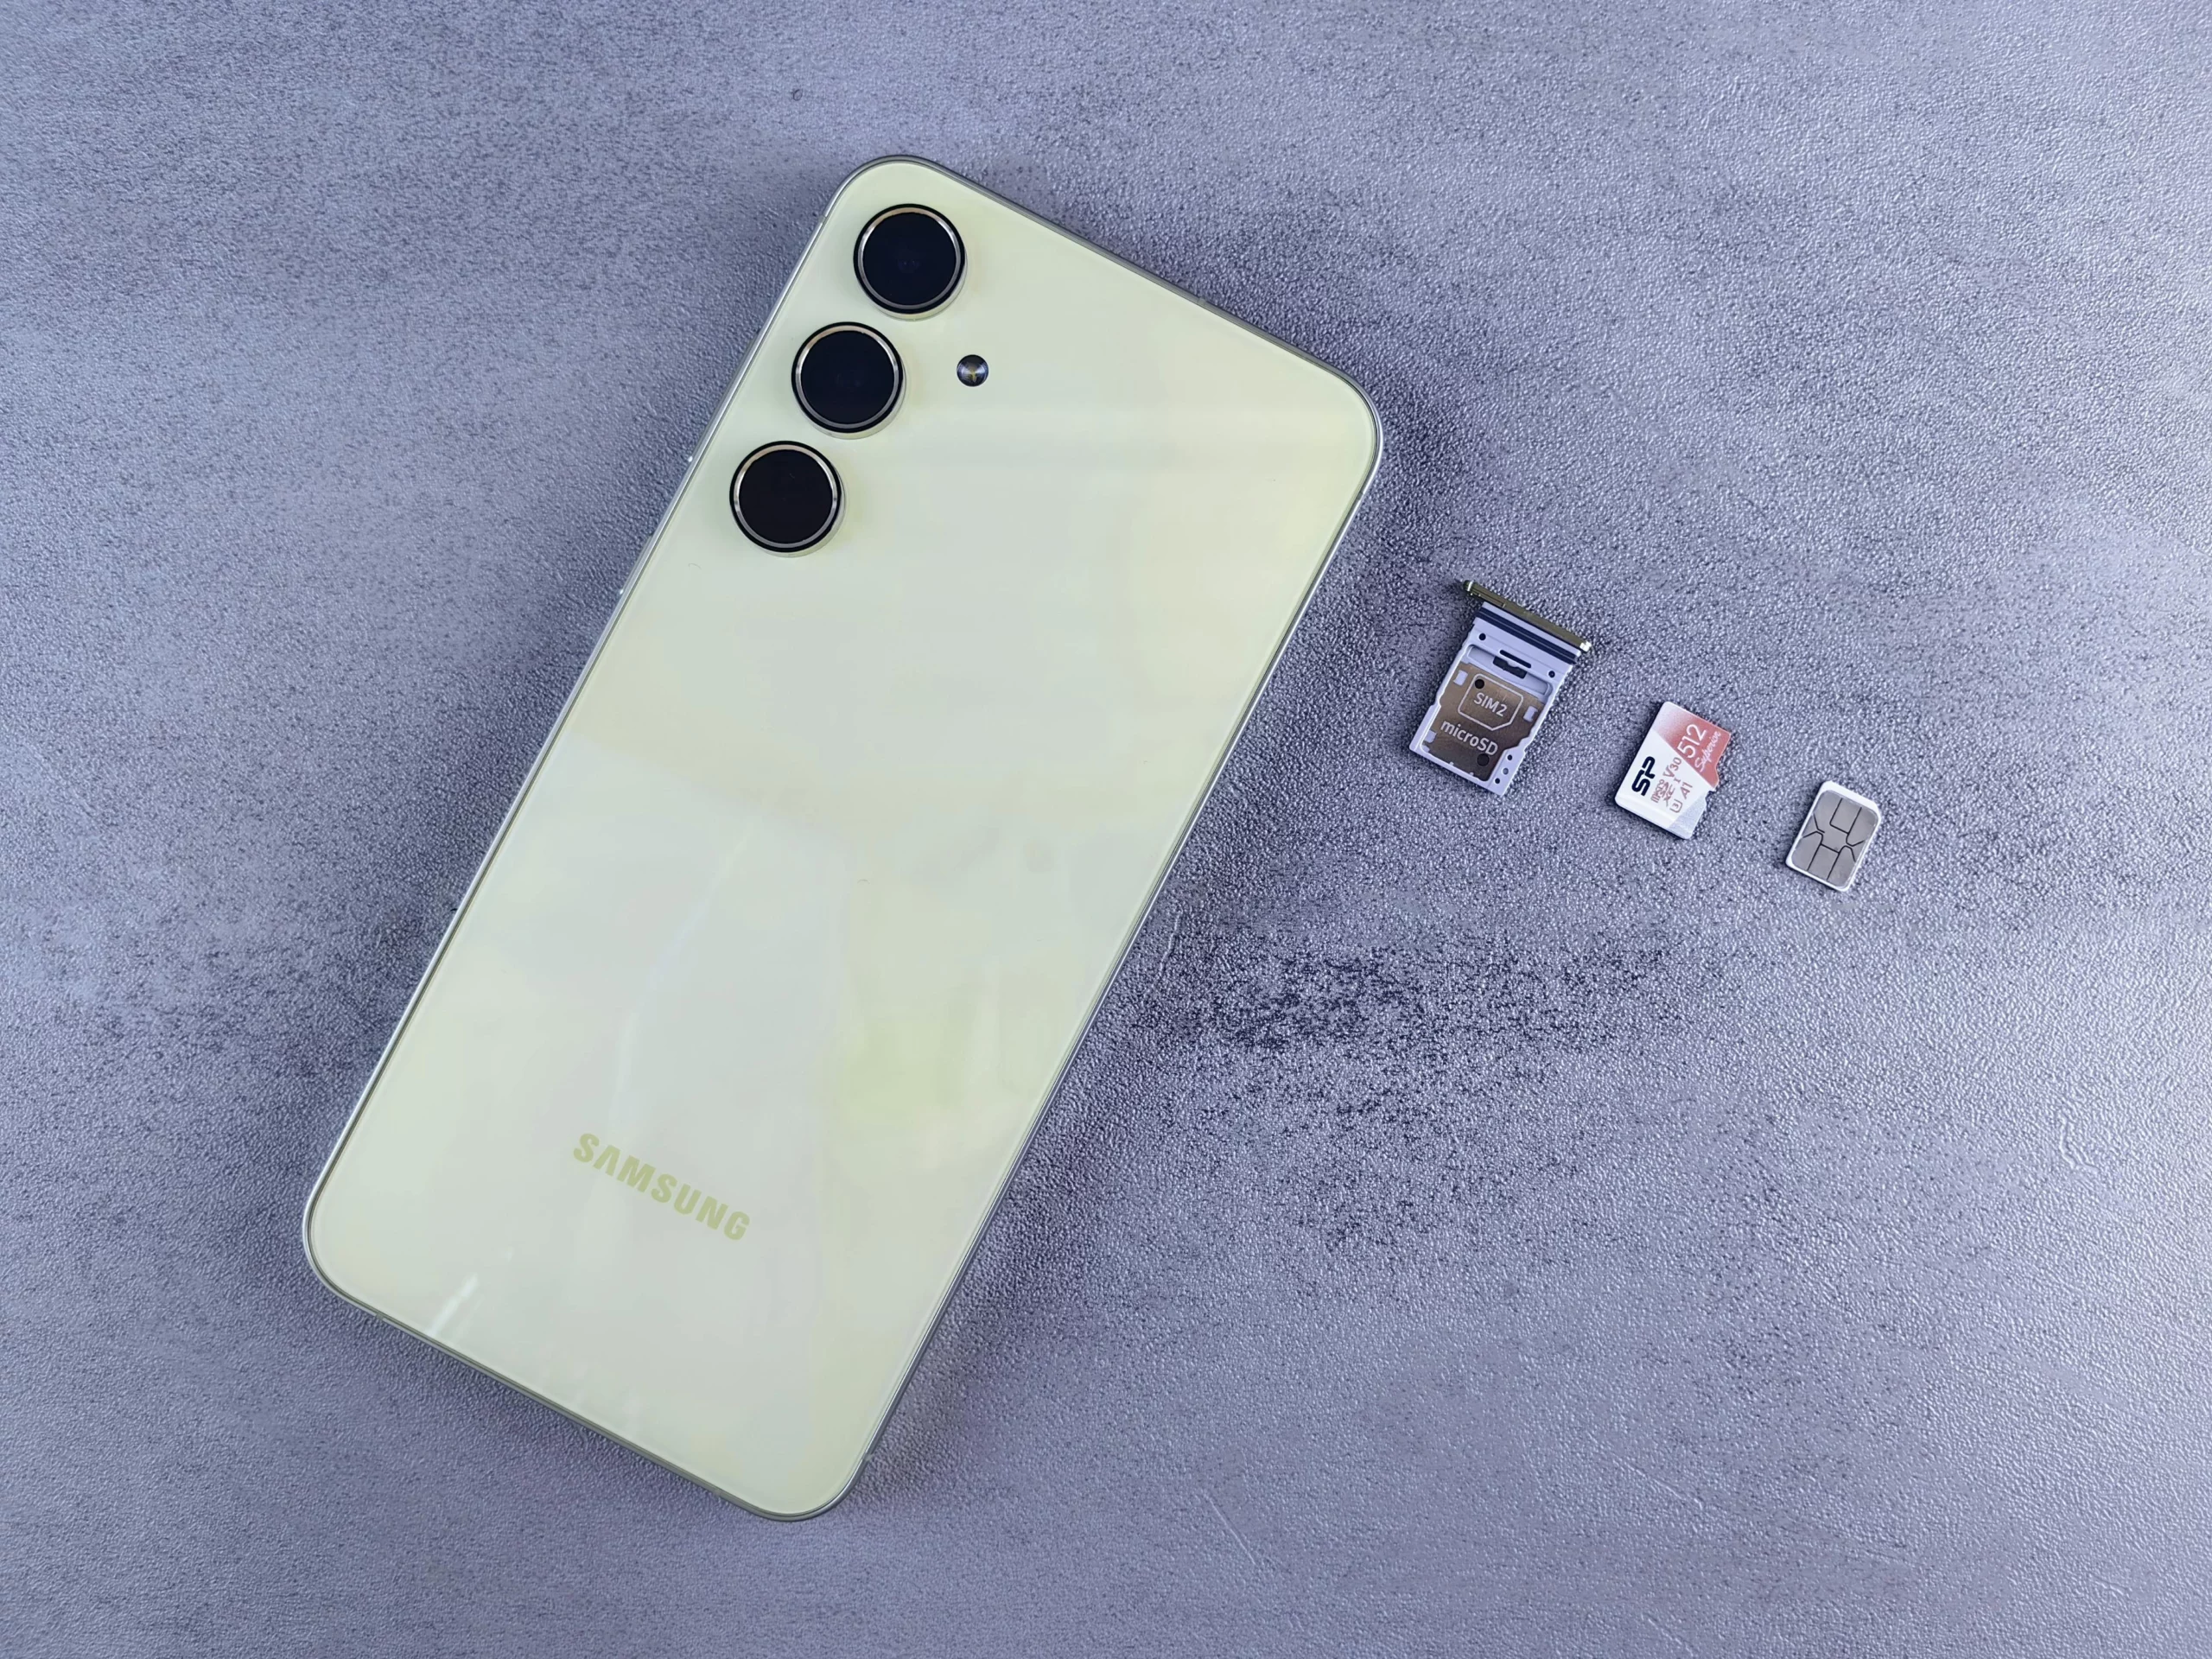
The Complete Guide to Samsung Camera Pro Mode
- From Brian Walker

Pro Mode is where your Samsung camera transforms from a simple point-and-shoot into a full-fledged photography powerhouse. Instead of letting your phone decide the settings, Pro Mode puts the creative control in your hands — letting you adjust ISO, shutter speed, white balance, and more. This guide will break down every tool and show you how to use it for professional-quality shots, no matter where you are.
1. Understanding Pro Mode Basics
Pro Mode is designed for photographers who want more control over their shots.
-
How It Works: Instead of automatic adjustments, you manually choose each setting based on your scene.
-
Where to Find It: Open the Camera app → Swipe to “More” → Select “Pro” or “Pro Video” for motion shots.
-
Pro Tip: Even if you’re a beginner, start experimenting — you’ll learn faster by making small adjustments.
2. ISO — Your Camera’s Light Sensitivity
ISO controls how sensitive your camera is to light.
-
Lower ISO (50–200): Produces cleaner images with less noise — ideal for bright conditions.
-
Higher ISO (800–3200): Brightens dark scenes but can introduce grain.
-
Pro Tip: Always aim for the lowest ISO possible for the conditions, adjusting shutter speed instead when you need more light.
3. Shutter Speed — Capturing Motion or Freezing It
Shutter speed determines how long your camera’s sensor is exposed to light.
-
Fast Speeds (1/500s+): Freeze motion — perfect for sports, wildlife, or action shots.
-
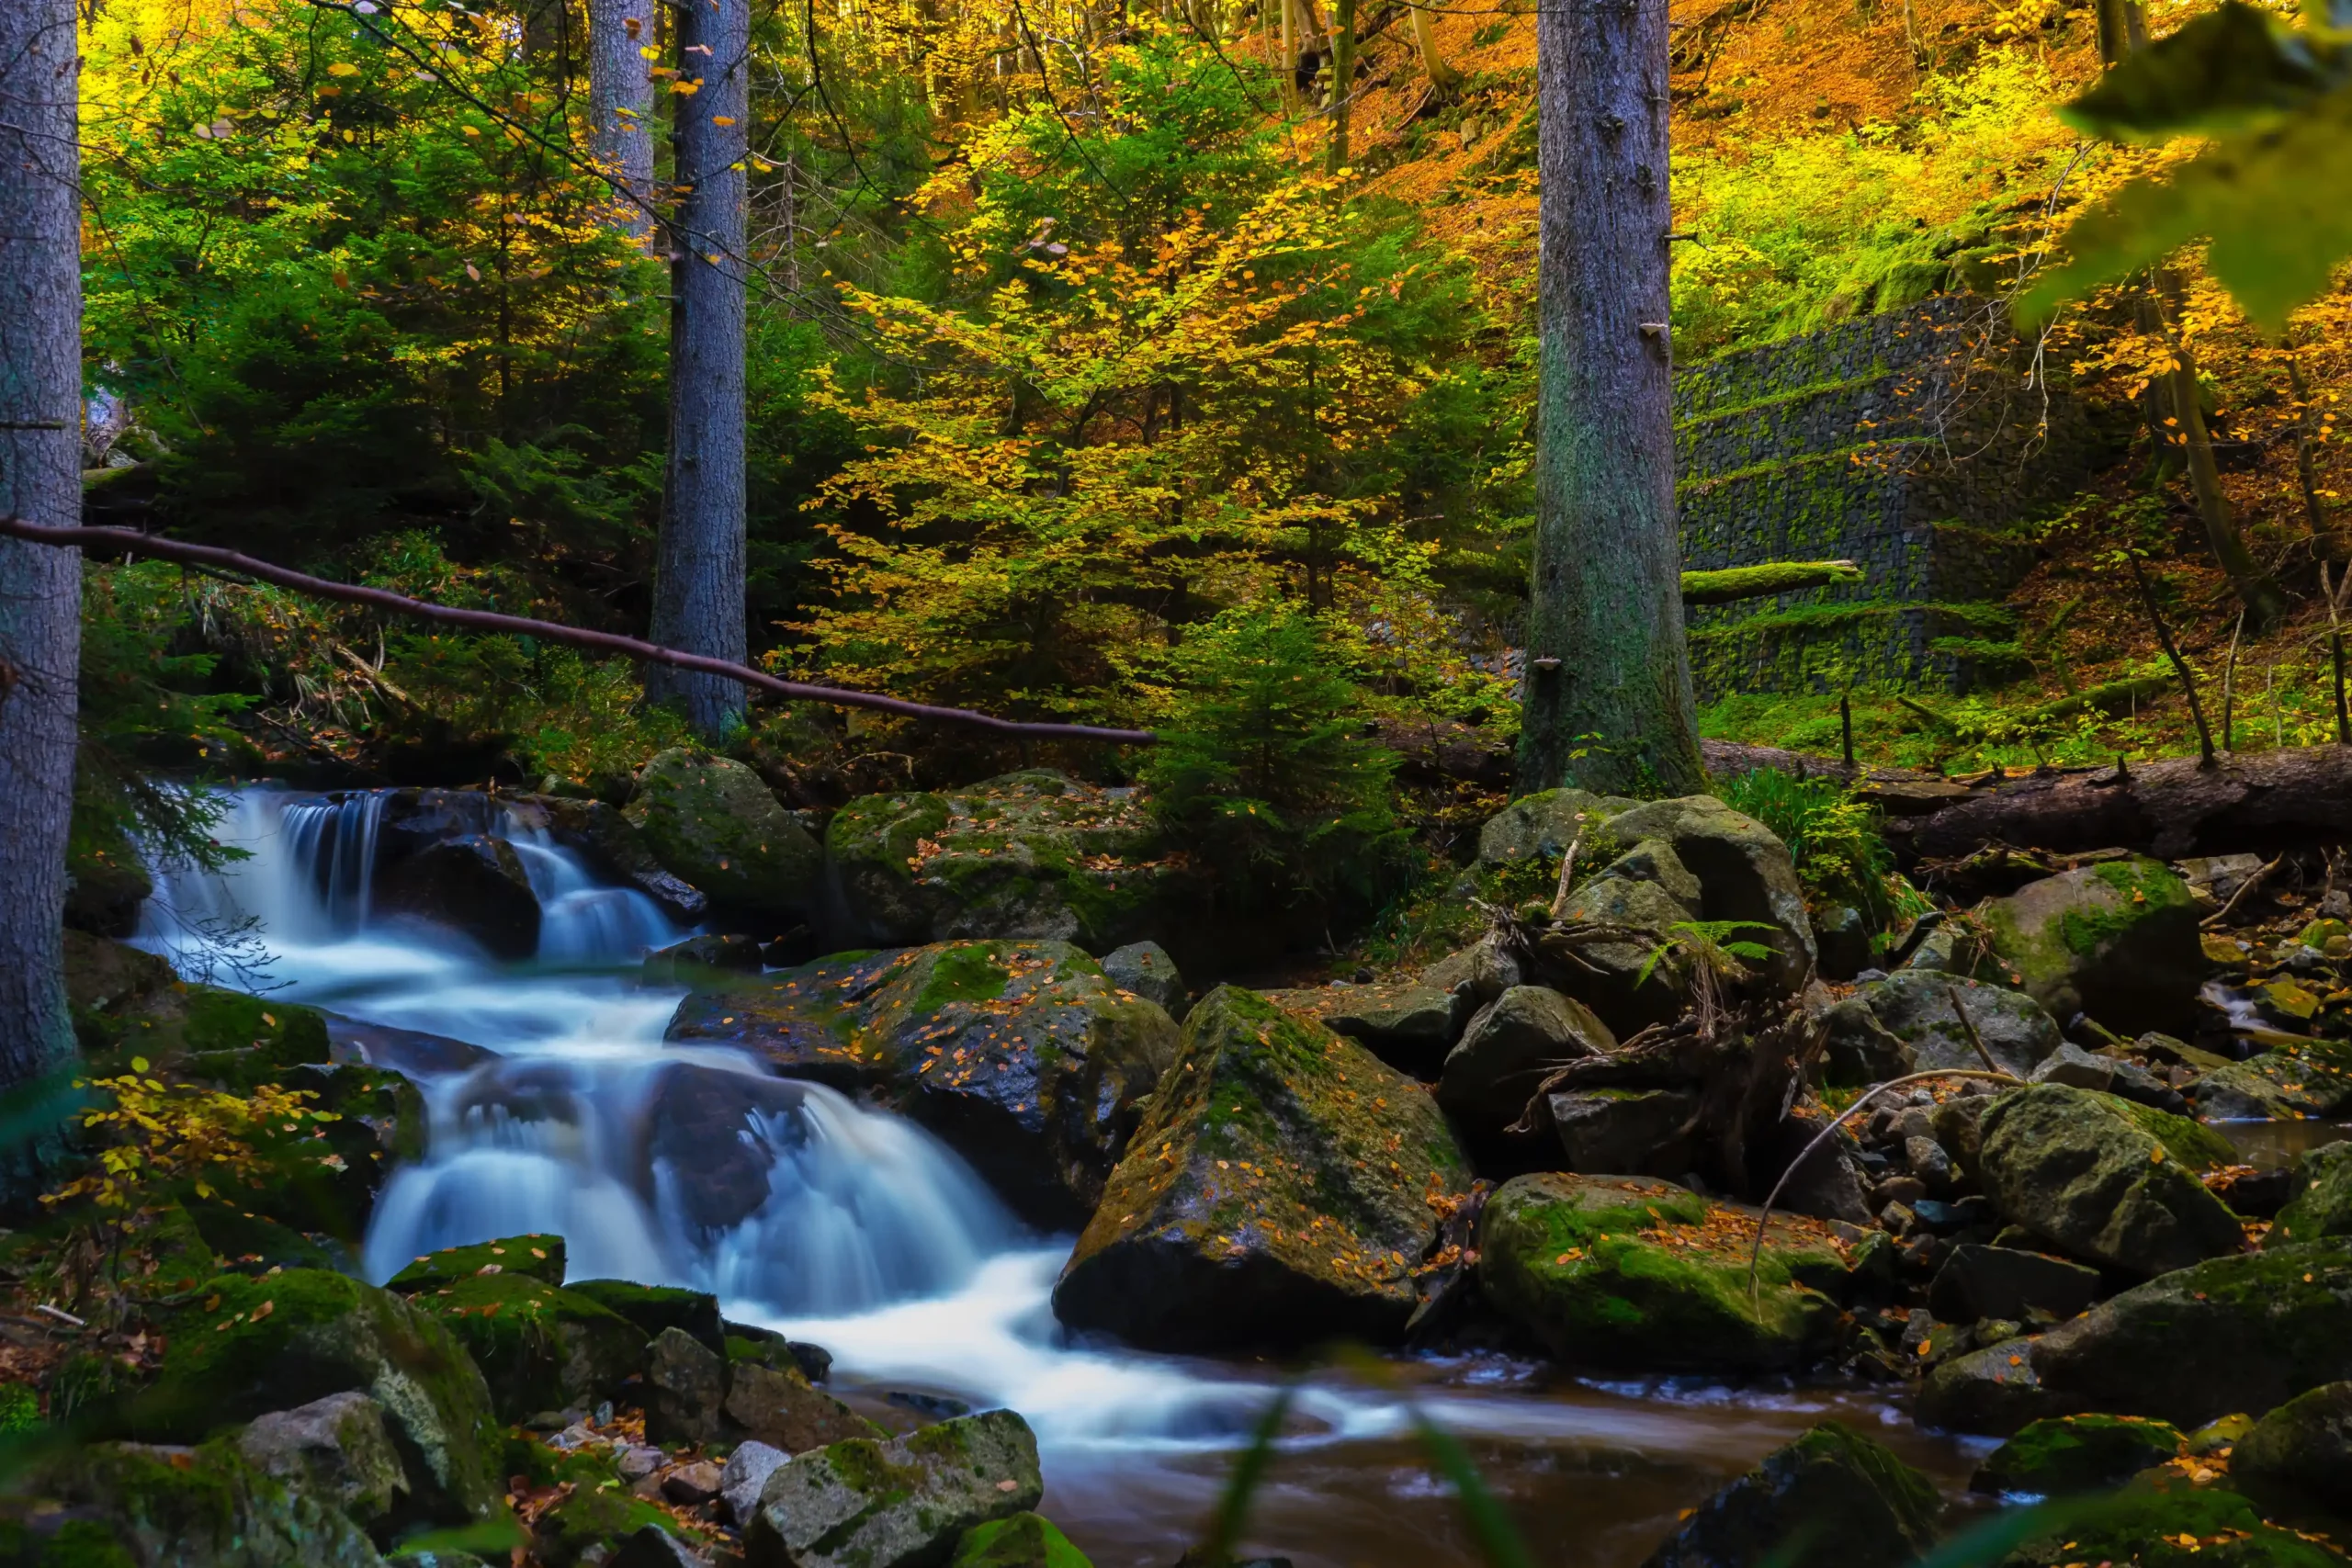
Slow Speeds (1/4s–30s): Create motion blur for waterfalls, light trails, or smooth water.
-
Pro Tip: Use a tripod for slow shutter speeds to avoid camera shake.
4. Aperture — Controlling Depth of Field
On many Samsung models, aperture can be adjusted in Pro Mode (f/1.5, f/2.4, etc.).
-
Wide Aperture (f/1.5): More light, softer background blur — great for portraits or low light.
-
Narrow Aperture (f/2.4+): Less light, deeper focus — ideal for landscapes.
-
Pro Tip: Switch to a narrower aperture for group shots so everyone stays in focus.

5. White Balance (WB) — Getting Accurate Colors
White balance corrects color tones so whites look truly white.
-
Preset Options: Daylight, Cloudy, Fluorescent, Incandescent.
-
Kelvin Scale: Manually adjust warmth (3000K for warm, 7000K for cool).
-
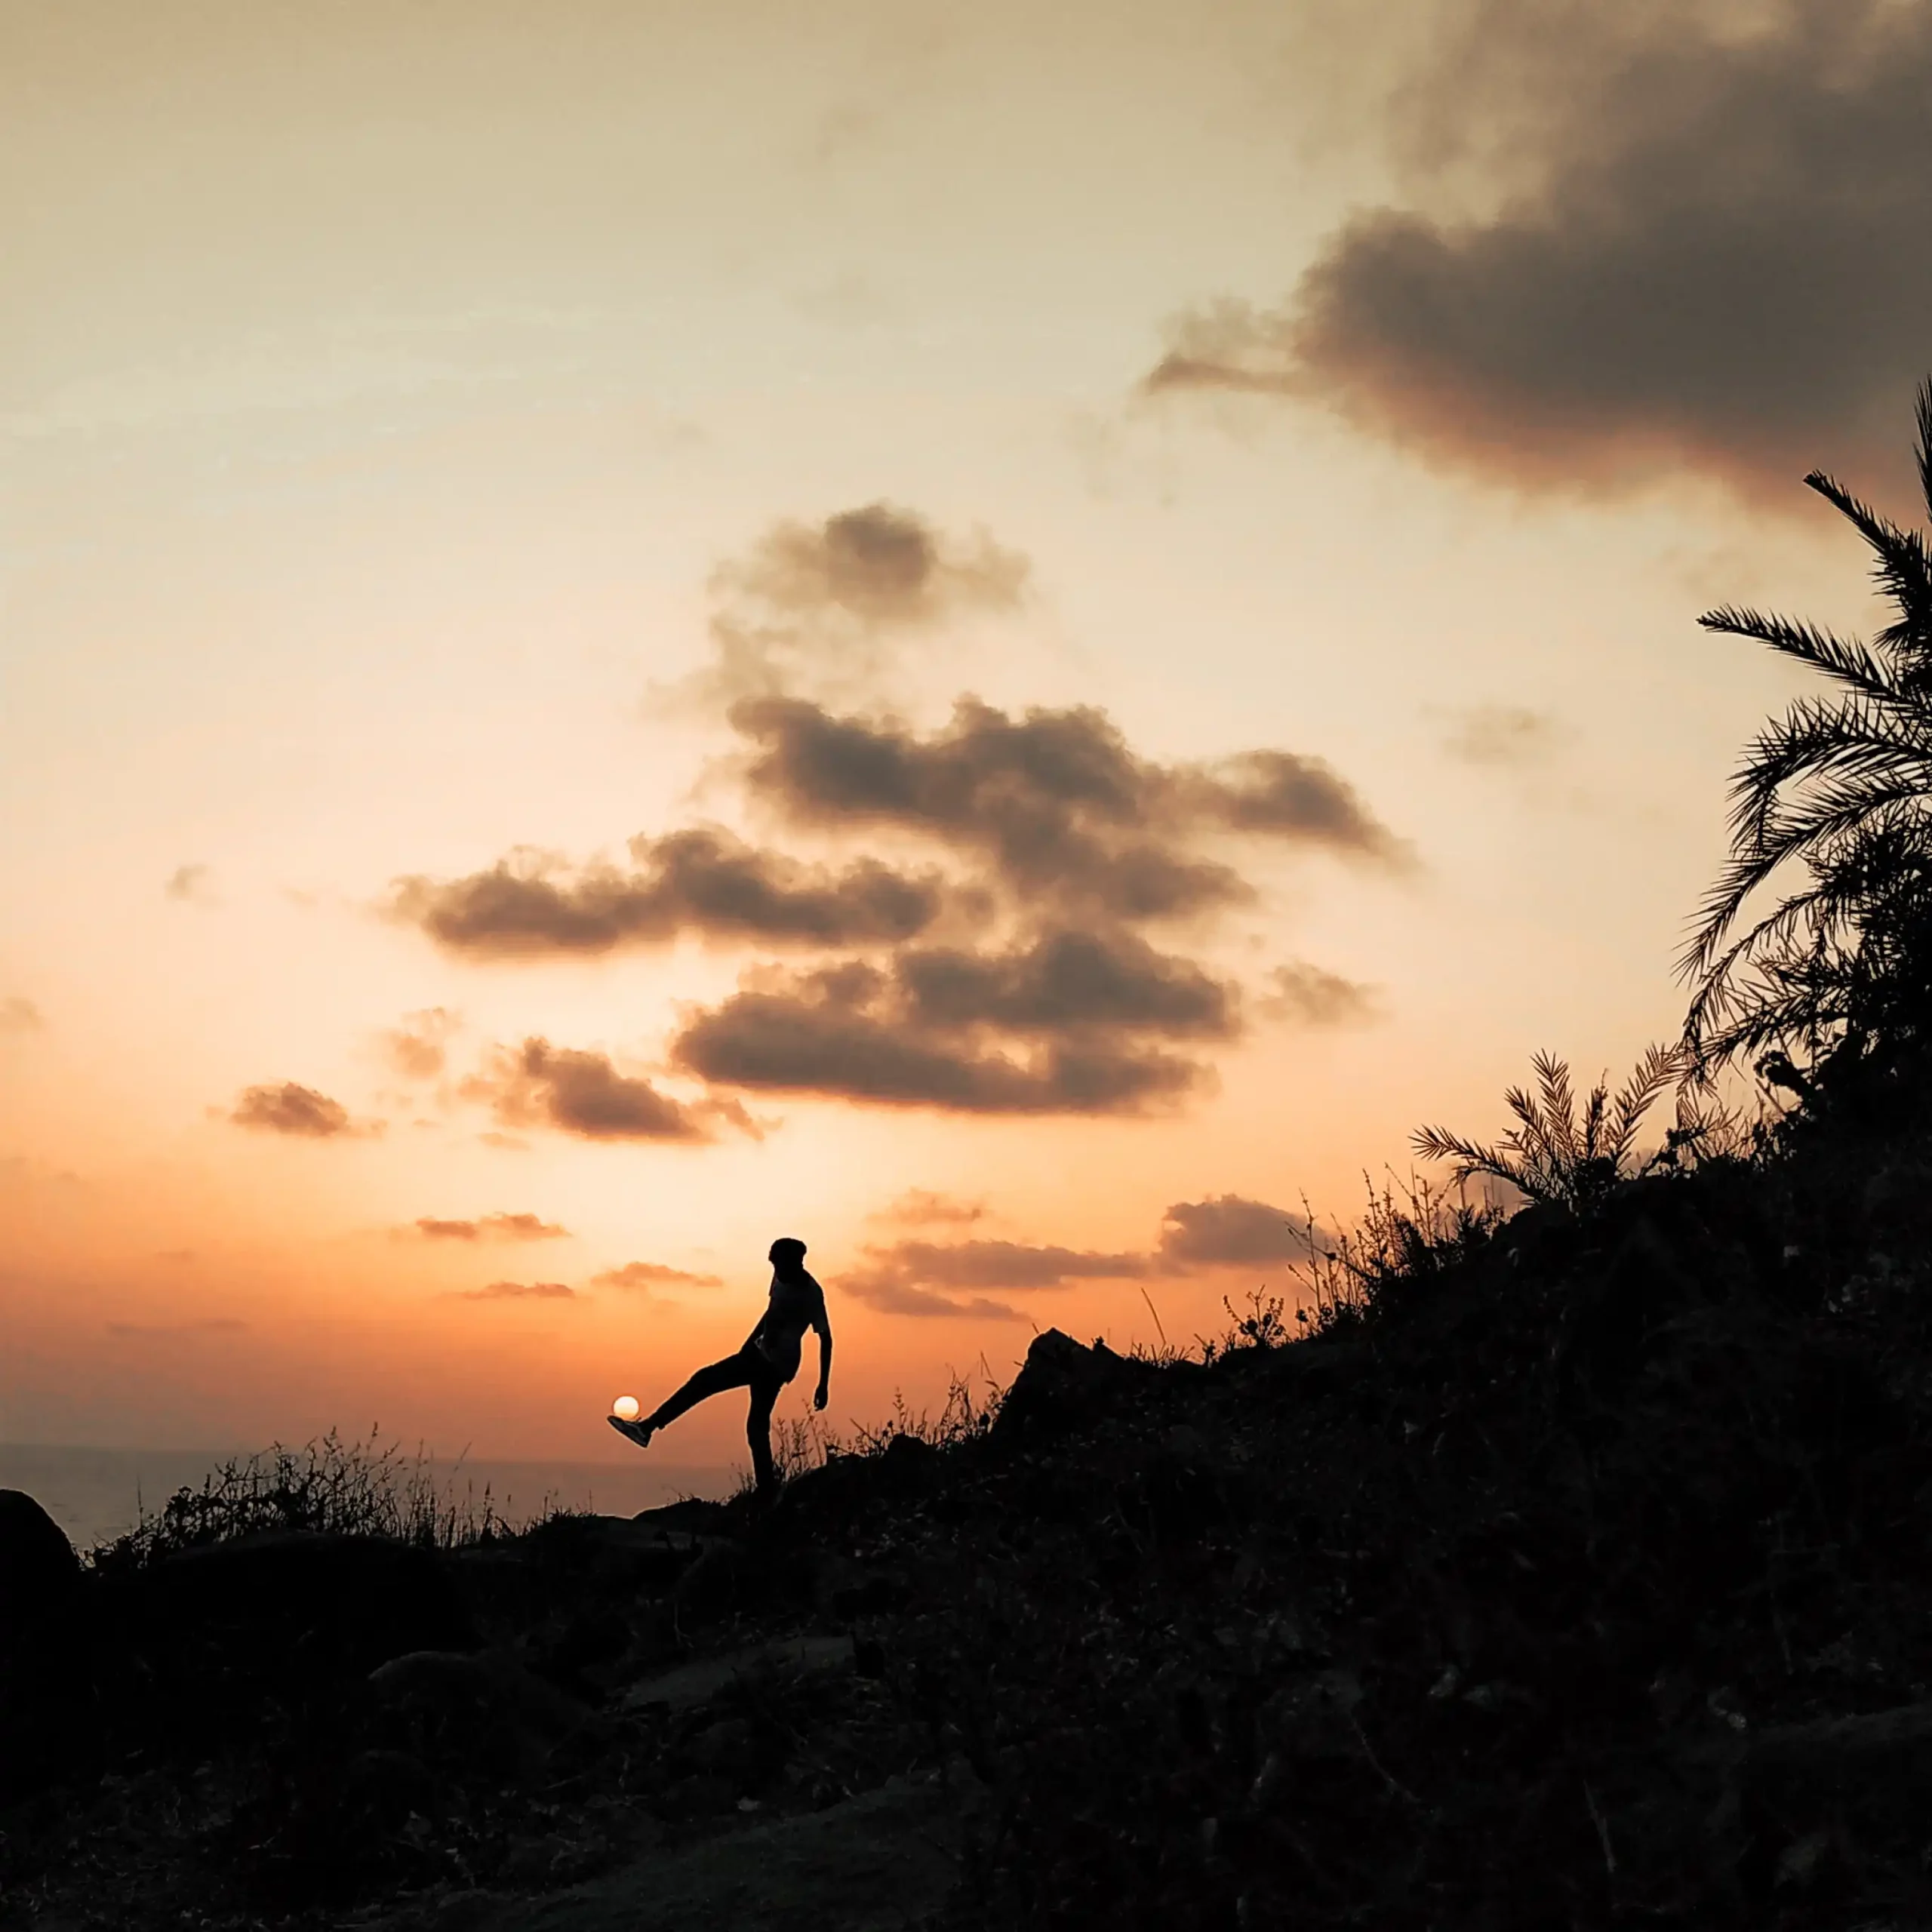
Pro Tip: Adjust WB creatively — a warm tone for golden hour or a cool tone for a futuristic night scene.
6. Focus — Manual Precision Control
Manual focus lets you choose exactly what’s sharp.
-
Close-Up (Macro): Focus on tiny details like flowers or jewelry.
-
Infinity: Crisp distant subjects like mountains or city skylines.
-
Pro Tip: Use focus peaking (highlighted edges) if your Samsung model supports it for pinpoint accuracy.

7. Metering Modes — How Your Camera Reads Light
Metering helps your camera decide exposure based on different areas of the frame.
-
Center-Weighted: Prioritizes the middle of the frame — great for portraits.
-
Spot Metering: Exposes for a specific point — perfect for tricky lighting.
-
Pro Tip: Use spot metering for backlit subjects to avoid underexposure.
8. Shooting in RAW for Maximum Editing Power
RAW files retain all the sensor data, giving you more flexibility in post-processing.
-
How to Enable: In Pro Mode settings, toggle on “Save RAW copies.”
-
When to Use: High-contrast scenes, low-light photography, or anytime you plan to edit in detail.
-
Pro Tip: RAW files are larger — make sure you have enough storage space.
9. Using the Histogram for Perfect Exposure
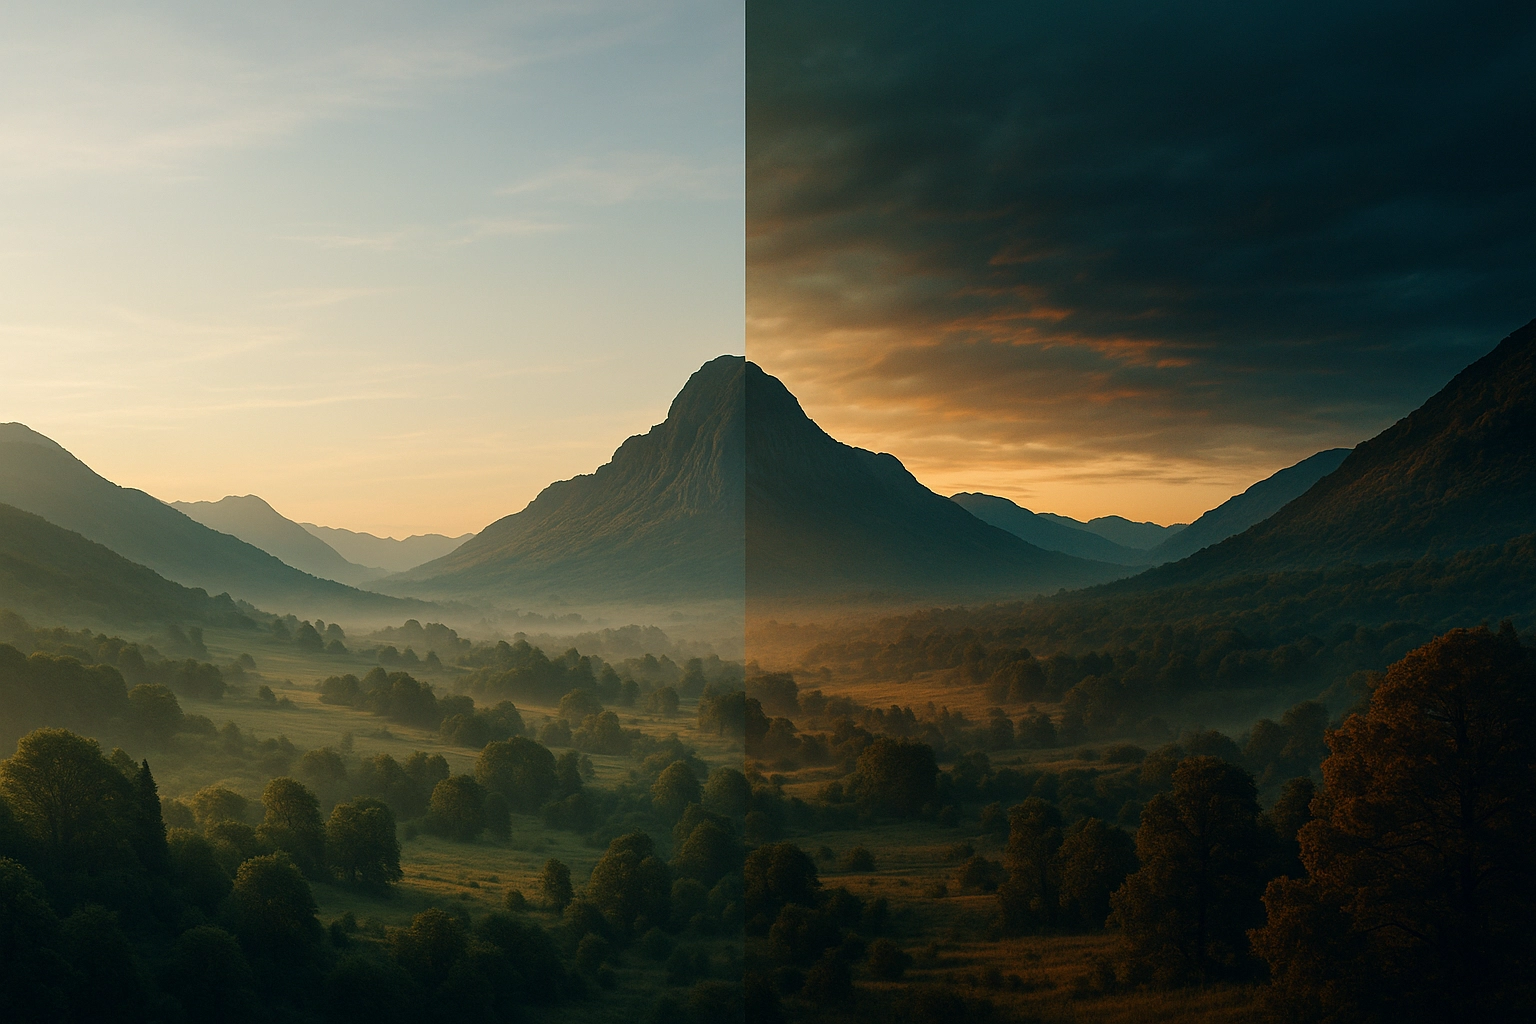
The histogram shows the tonal range of your shot.
-
Left Side: Shadows and blacks.
-
Right Side: Highlights and whites.
-
Pro Tip: Avoid bunching on either side to prevent blown-out highlights or crushed shadows.
10. Practice, Experiment, and Learn
Pro Mode rewards curiosity.
-
Start Simple: Adjust one setting at a time to understand its effect.
-
Keep Notes: Record which settings work for certain conditions.
-
Pro Tip: Revisit familiar locations in different lighting to master each control.

Conclusion:
Pro Mode turns your Samsung into a professional tool capable of incredible photography. The more you experiment with ISO, shutter speed, aperture, and focus, the more creative freedom you’ll unlock — and the less you’ll ever rely on Auto Mode again.


